Hướng dẫn sử dụng Template chỉ đường
Lấy mã nguồn
Sử dụng git lấy mã nguồn từ đường link sau Navigation WEB Repository
Sửa file môi trường để setup biến
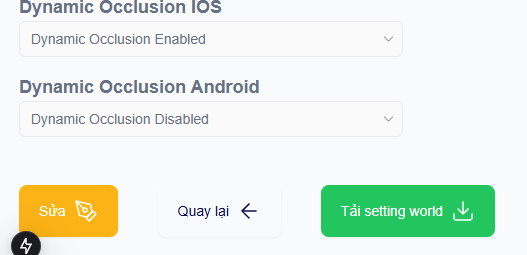
Truy cập portal (https://xensear.vn/portal ), đi đến dự án bạn đã tạo, ấn button “Tải setting world” Cấu trúc file settings sẽ như ví dụ sau
{
  "title": "Dự án đầu tiên",
  "worldId": "123",
  "thumbnail": null,
  "worldDescription": "Sử dụng block quét bằng app Scan",
  "created": "1768376033",
  "updated": "1770089328",
  "listActivity": ["Test tạo nội dung", "Test VPS"],
  "anchoringGroup": ["a"],
  "locationInfoGroup": ["a"],
  "checkinFrame": [],
  "location": "TT MHMP",
  "thumbnailImg": "",
  "descriptionImg": [""],
  "listCustomConfiguration": [],
  "sourceUrl": null,
  "isAvailableForExperience": true,
  "isDynamicOcclusionAndroid": false,
  "isDynamicOcclusionIOS": true,
  "isHighlight": false,
  "blockId": "123",
  "blockname": "123",
  "isProductionWorld": true,
  "worldSpaceStatus": "production",
  "startDate": "",
  "arService": ""
}
Truy cập vào trong mã nguồn đến file .env, sửa 2 giá trị sau theo như file settings đã lấy xuống: worldId và blockId
NEXT_PUBLIC_WORLD_ID=
NEXT_PUBLIC_BLOCK_ID=
Chạy kiểm thử trên môi trường local
Requirements: NodeJS version 20 trở lên
Chạy lệnh npm install để cài các thư viện cần thiết cho project
Chạy local project:
npm run dev
# or
yarn dev
# or
pnpm dev
# or
bun devDomain: your_domain/base_path
base_path được lấy từ trong file next.config.mjs
/** @type {import('next').NextConfig} */
const nextConfig = {
  output: "export",
  images: { unoptimized: true },

  // need config for this to run on production
  assetPrefix: "/custom-frontend/template-chi-duong/",
  basePath: "/custom-frontend/template-chi-duong",
  publicRuntimeConfig: {
    NEXT_PUBLIC_VERSION: process.env.NEXT_PUBLIC_VERSION,
    NEXT_PUBLIC_SESSION_URL: process.env.NEXT_PUBLIC_SESSION_URL,
    NEXT_PUBLIC_DRUPAL_URL: process.env.NEXT_PUBLIC_DRUPAL_URL,
    NEXT_PUBLIC_ANALYTIC_URL: process.env.NEXT_PUBLIC_ANALYTIC_URL,
  },
};

export default nextConfig;
Triển khai
Để deploy 1 dự án NextJS, vui lòng làm theo hướng dẫn sau (https://nextjs.org/docs/pages/getting-started/deploying )
Hướng dẫn edit UI
2 route chính của dự án là homescreen và mainui.
Để Edit UI, vui lòng chỉnh sửa các phần code
return()của các file .tsx, vui lòng không sửa các luồng nghiệp vụ (ts, js code) để ứng dụng hoạt động trơn tru.
Các thành phần chính sẽ thay đổi UI customize là:
components\NavigationTemplate: UI giao diện chỉ đường ngoài màn hình chính
components\NavigationList: Danh sách điểm chỉ đường
components\TabsItem: Các thành phần con trong danh sách chỉ đường
app\homescreen: parent component trang đầu
app\mainui: parent component trang trải nghiệm AR