Navigation Template Usage Guide
This guide helps you set up, configure, test, and deploy the Web-based AR Navigation Template.
1. Get the Source Code
Clone the repository using Git:
Navigation WEB Repository:
https://gitlab.com/educationxrmhmp-group/template-navigation-web.git
git clone https://gitlab.com/educationxrmhmp-group/template-navigation-web.git2. Update Environment File for Configuration
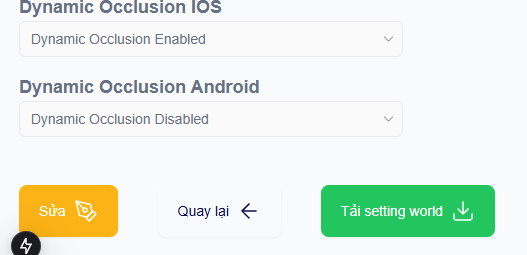
Access the portal at https://xensear.vn/portal , navigate to the project you created, and click the “Download World Settings” button.
The settings file structure will be similar to the following example:
{
  "title": "First Project",
  "worldId": "123",
  "thumbnail": null,
  "worldDescription": "Using block scanned by the Scan app",
  "created": "1768376033",
  "updated": "1770089328",
  "listActivity": ["Content creation test", "VPS test"],
  "anchoringGroup": ["a"],
  "locationInfoGroup": ["a"],
  "checkinFrame": [],
  "location": "TT MHMP",
  "thumbnailImg": "",
  "descriptionImg": [""],
  "listCustomConfiguration": [],
  "sourceUrl": null,
  "isAvailableForExperience": true,
  "isDynamicOcclusionAndroid": false,
  "isDynamicOcclusionIOS": true,
  "isHighlight": false,
  "blockId": "123",
  "blockname": "123",
  "isProductionWorld": true,
  "worldSpaceStatus": "production",
  "startDate": "",
  "arService": ""
}
Navigate to the source code and open the .env file. Update the following two values according to the downloaded settings file: worldId and blockId.
NEXT_PUBLIC_WORLD_ID=
NEXT_PUBLIC_BLOCK_ID=
3. Run on Local Environment
Requirements: NodeJS version 20 or higher
Run npm install to install the required dependencies for the project.
Start the local development server:
npm run dev
# or
yarn dev
# or
pnpm dev
# or
bun devDomain: your_domain/base_path
base_path is in file next.config.mjs
/** @type {import('next').NextConfig} */
const nextConfig = {
  output: "export",
  images: { unoptimized: true },

  // need config for this to run on production
  assetPrefix: "/custom-frontend/template-chi-duong/",
  basePath: "/custom-frontend/template-chi-duong",
  publicRuntimeConfig: {
    NEXT_PUBLIC_VERSION: process.env.NEXT_PUBLIC_VERSION,
    NEXT_PUBLIC_SESSION_URL: process.env.NEXT_PUBLIC_SESSION_URL,
    NEXT_PUBLIC_DRUPAL_URL: process.env.NEXT_PUBLIC_DRUPAL_URL,
    NEXT_PUBLIC_ANALYTIC_URL: process.env.NEXT_PUBLIC_ANALYTIC_URL,
  },
};

export default nextConfig;
4. Deployment
To deploy a NextJS project, please follow the official guide:
https://nextjs.org/docs/pages/getting-started/deploying
5. UI Editing Guide
The two main routes of the project are homescreen and mainui.
To edit the UI, modify the:
return()inside the .tsx files.
Do not modify the business logic (.ts, .js) to ensure stable Runtime behavior.
The primary components responsible for UI customization are:
components\NavigationTemplate: Navigation UI displayed on the main screen.
components\NavigationList: List of navigation points.
components\TabsItem: Child components within the navigation list.
app\homescreen: Parent component of the landing page.
app\mainui: Parent component of the AR experience page.