XenseAR Editor Installation Guide
Table of Contents
Download XenseAR Editor Project
After downloading the Project, extract it to a suitable location, for example: <Unity_Editor>.
XenseAR Editor runs in the Unity Editor. To use XenseAR Editor, you need to install Unity Hub and the corresponding version of Unity Editor.
[v3.5.0] - 2026-07-09
-
Assets: XenseAR_Editor.zip
-
Changelog:
- Updated the login flow.
See Older Versions
Install Unity Editor
-
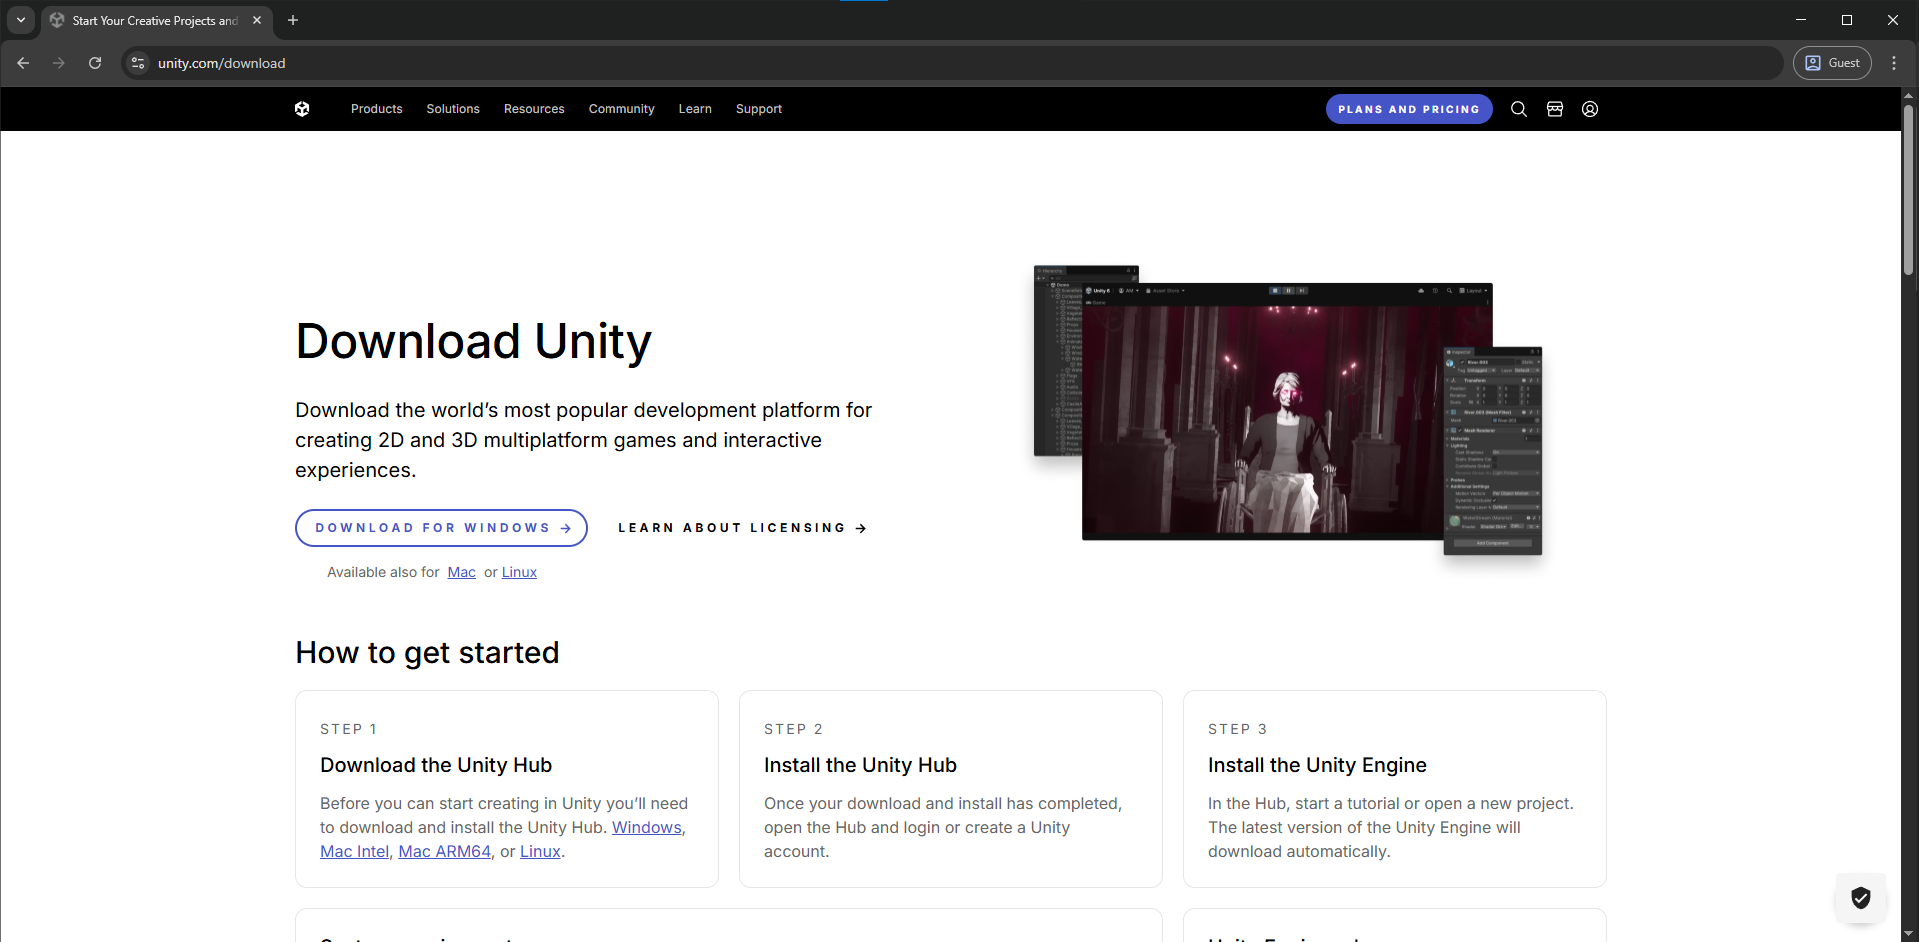
Install Unity Hub from Download Unity .
-
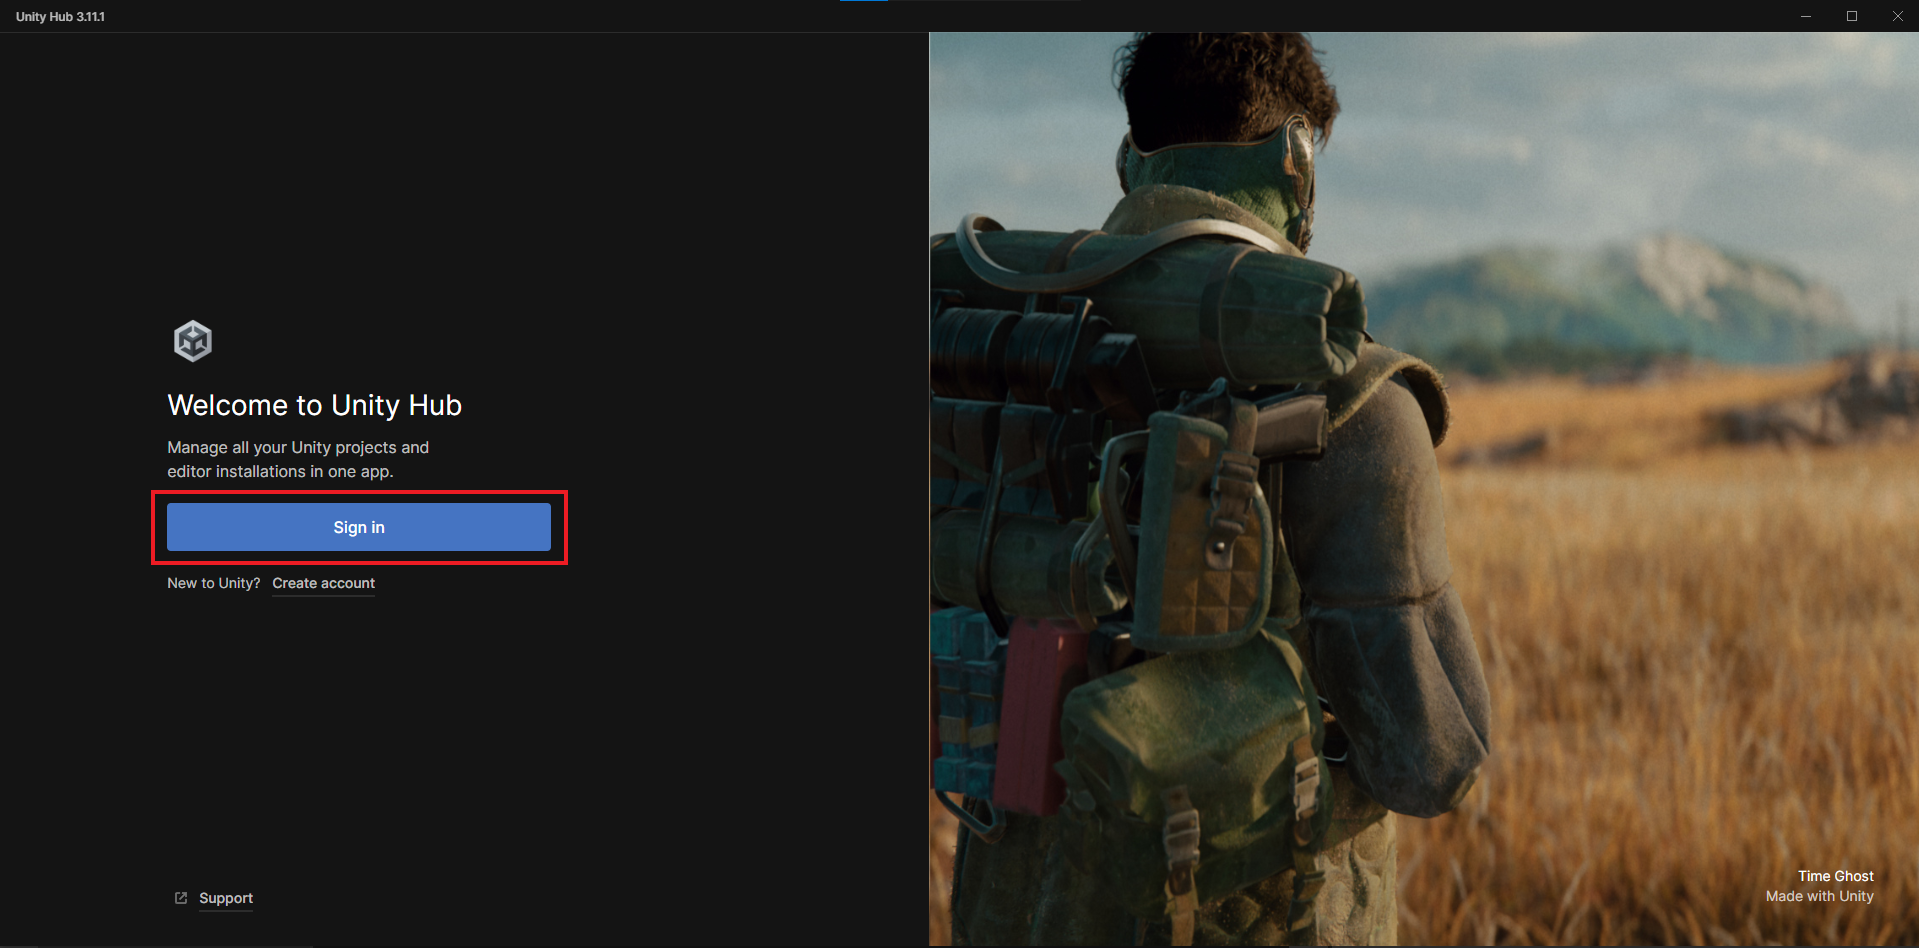
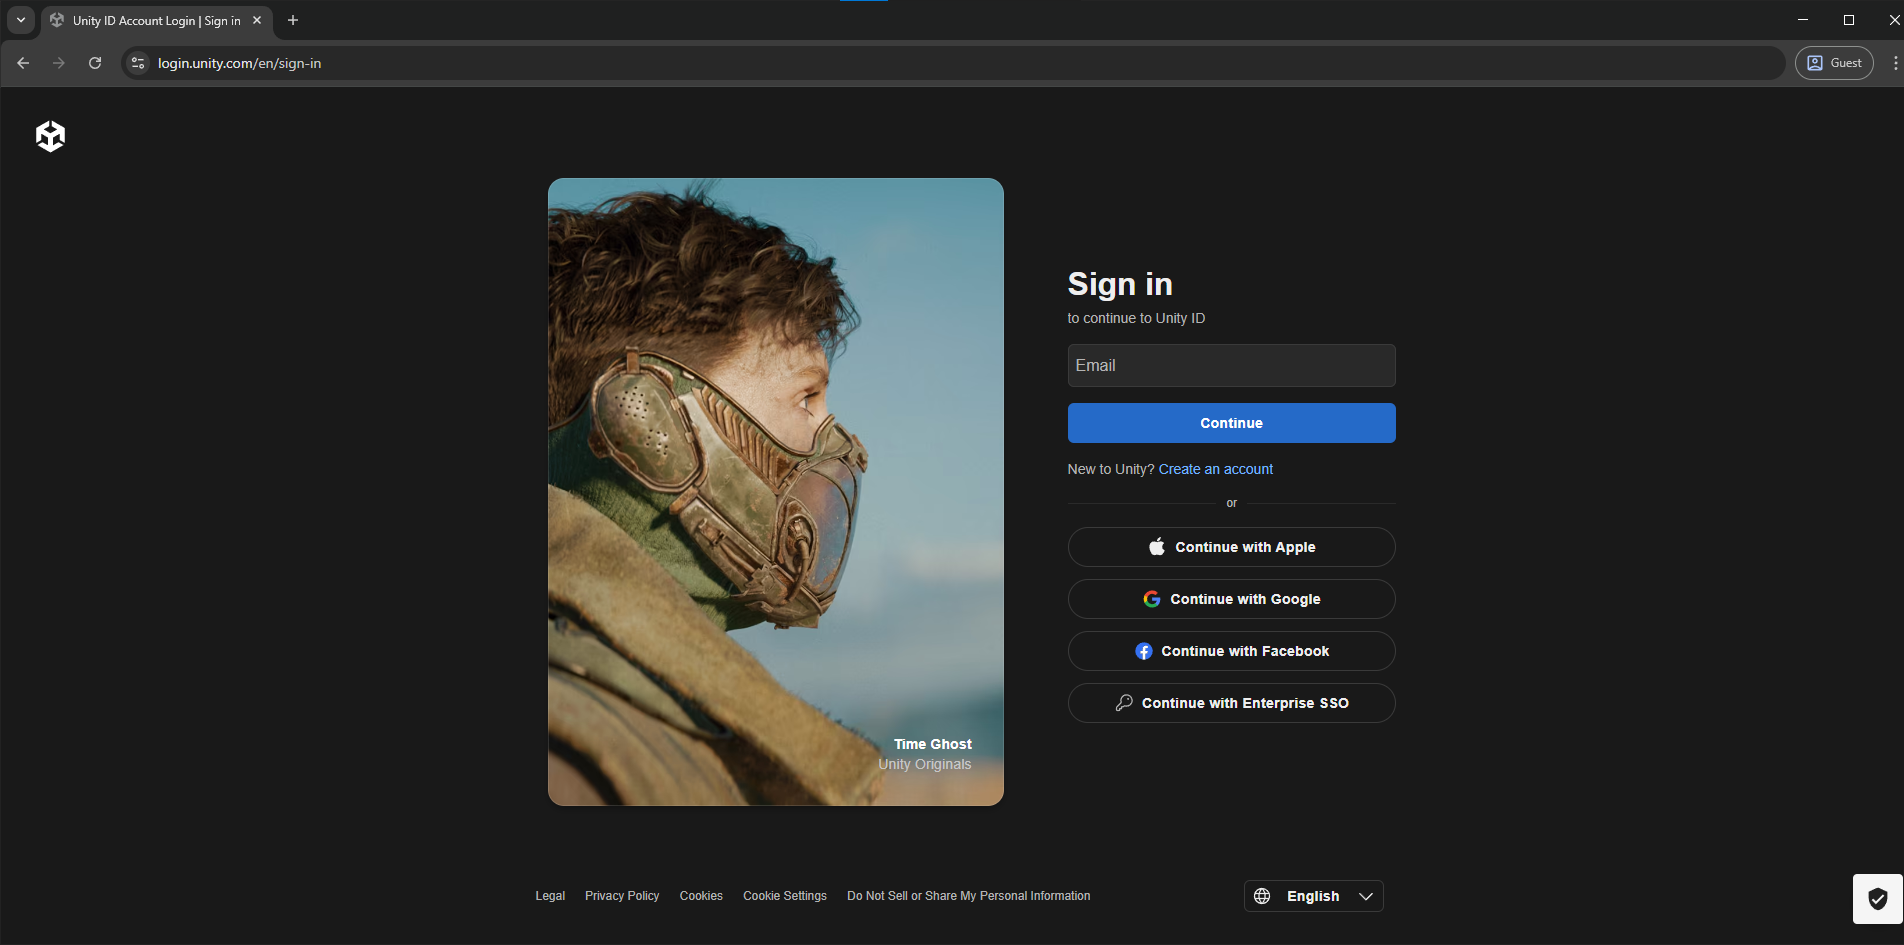
Log in or create an account.
-
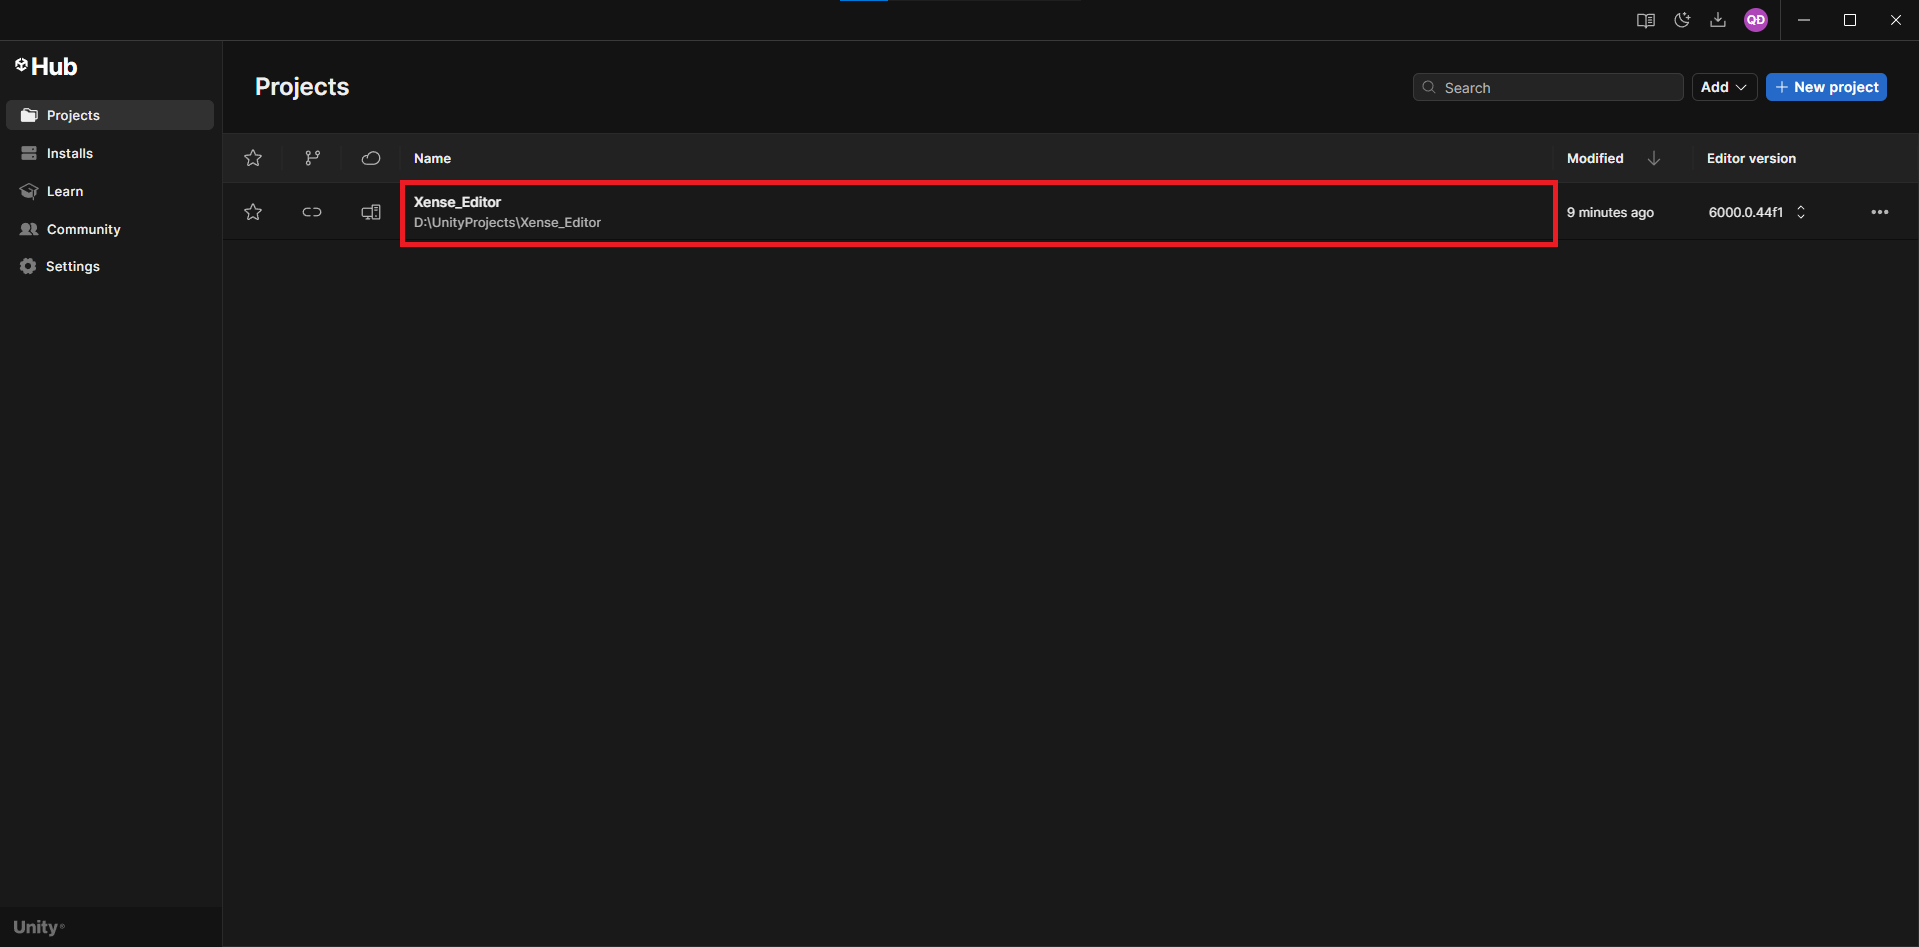
Open the
Projectssection in Unity Hub.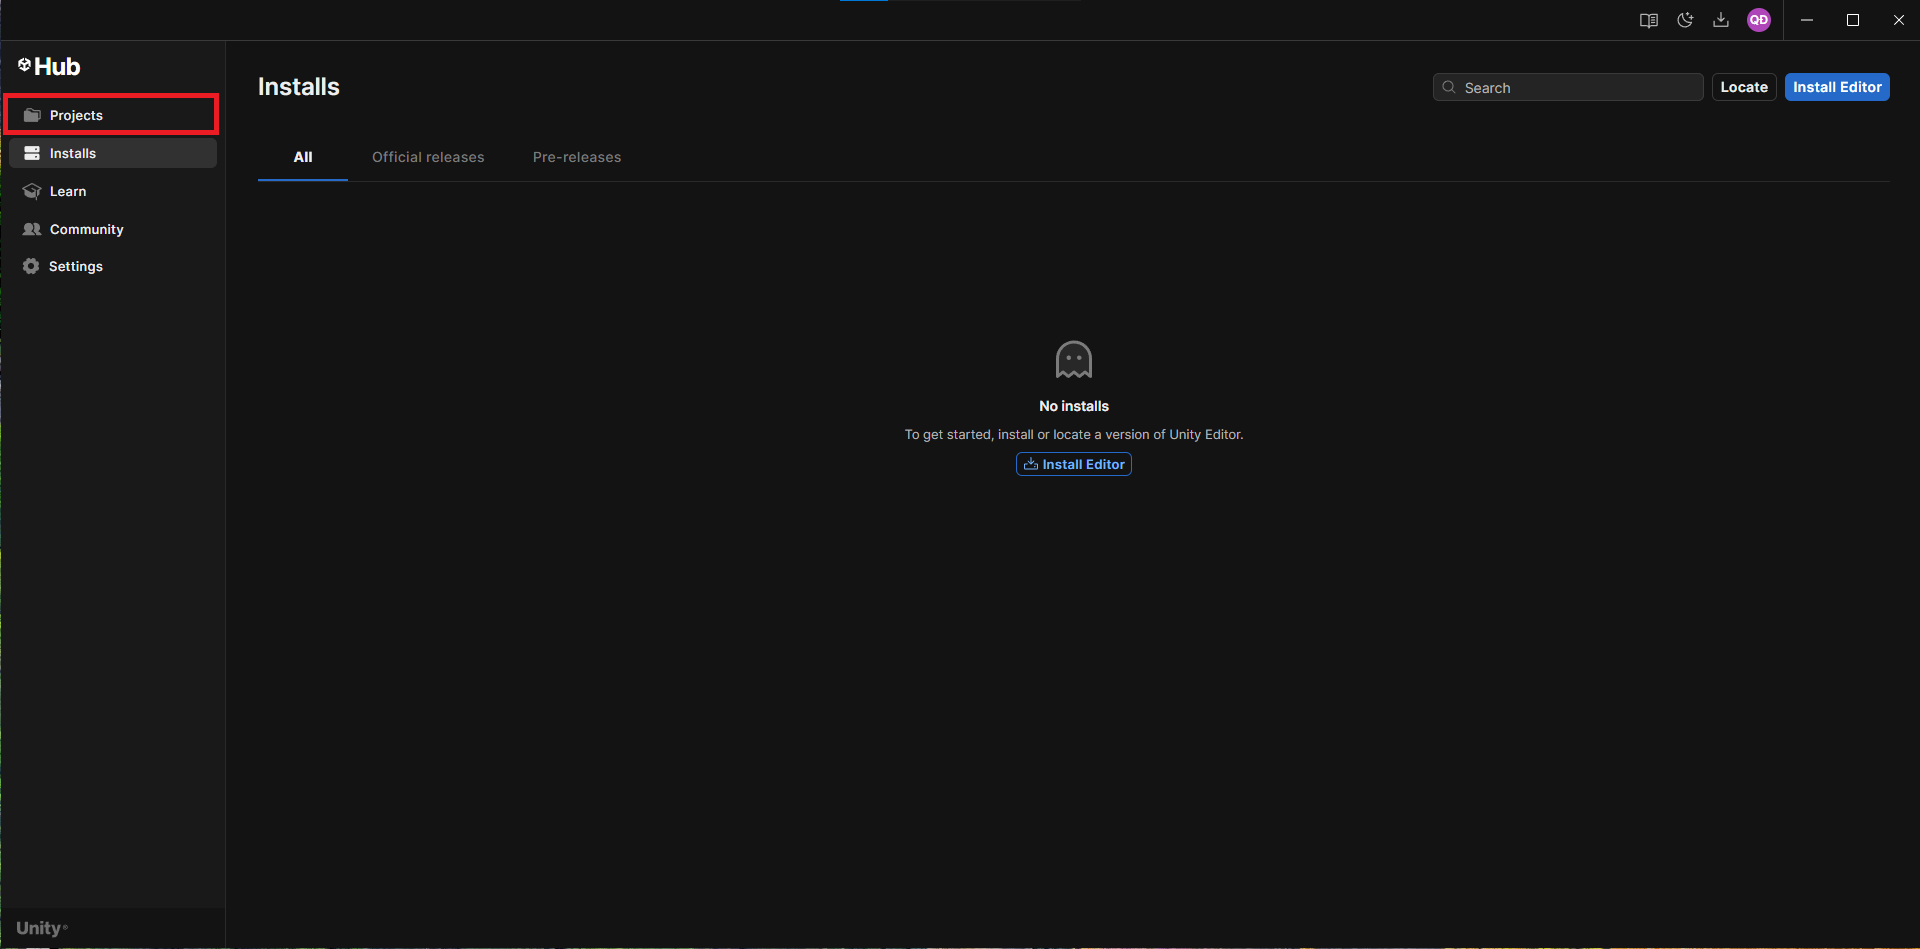
-
Click
Add→Add project from disk, navigate to the extracted directory, and select the folder containing the Project.
xensearunityeditor/
├── xensearunityeditor/  # Select this folder.
│  ├── README.md
│  ├── Packages/
│  ├── ProjectSettings/
│  └── Assets/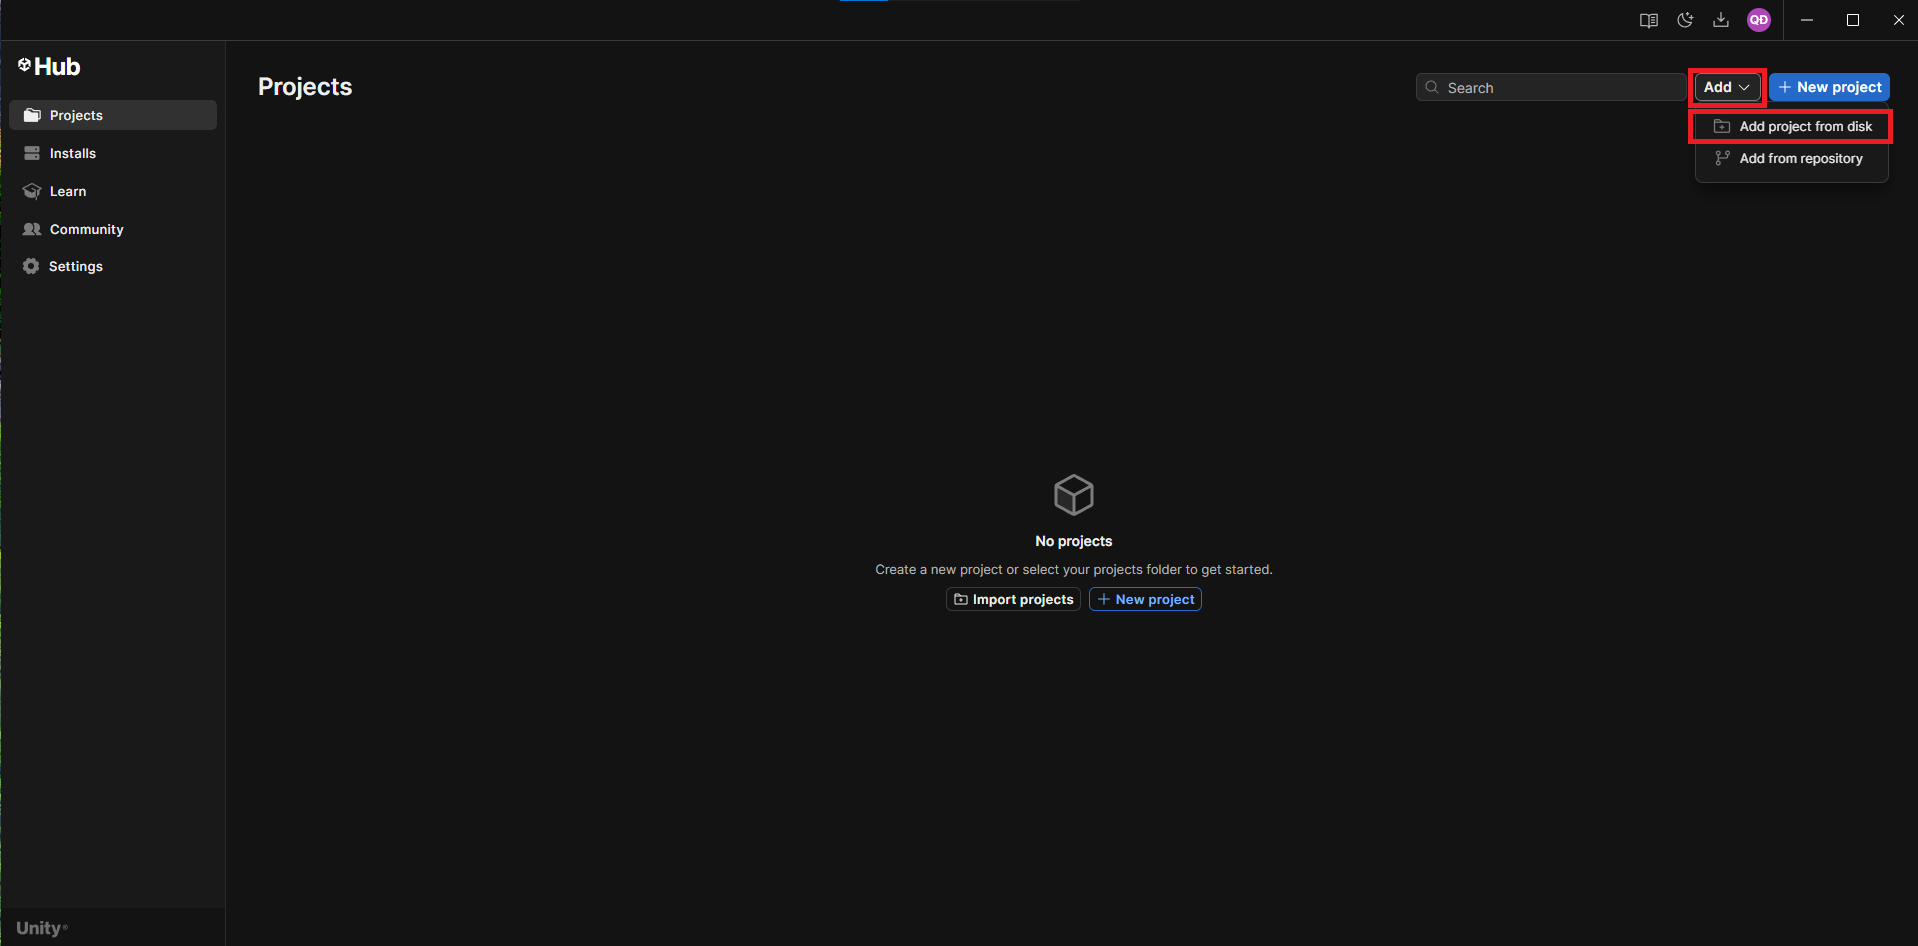
-
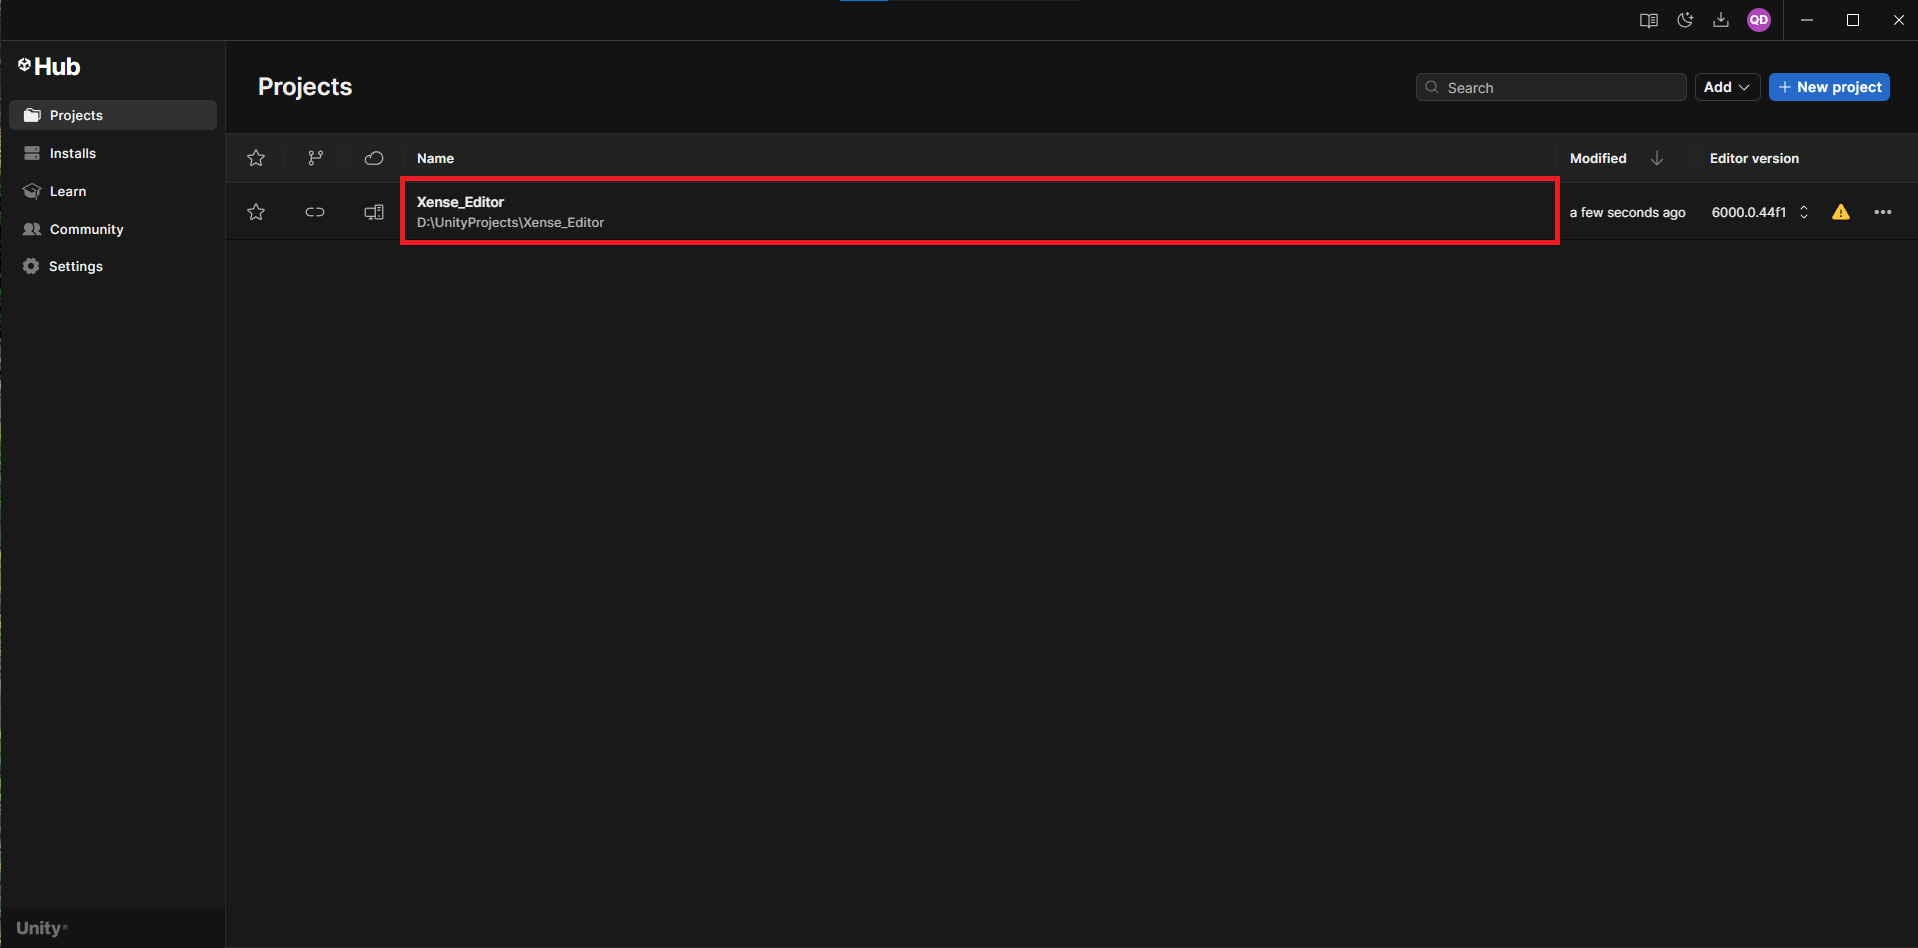
If the correct version of Unity Editor is not installed, a dialog box will appear.
-
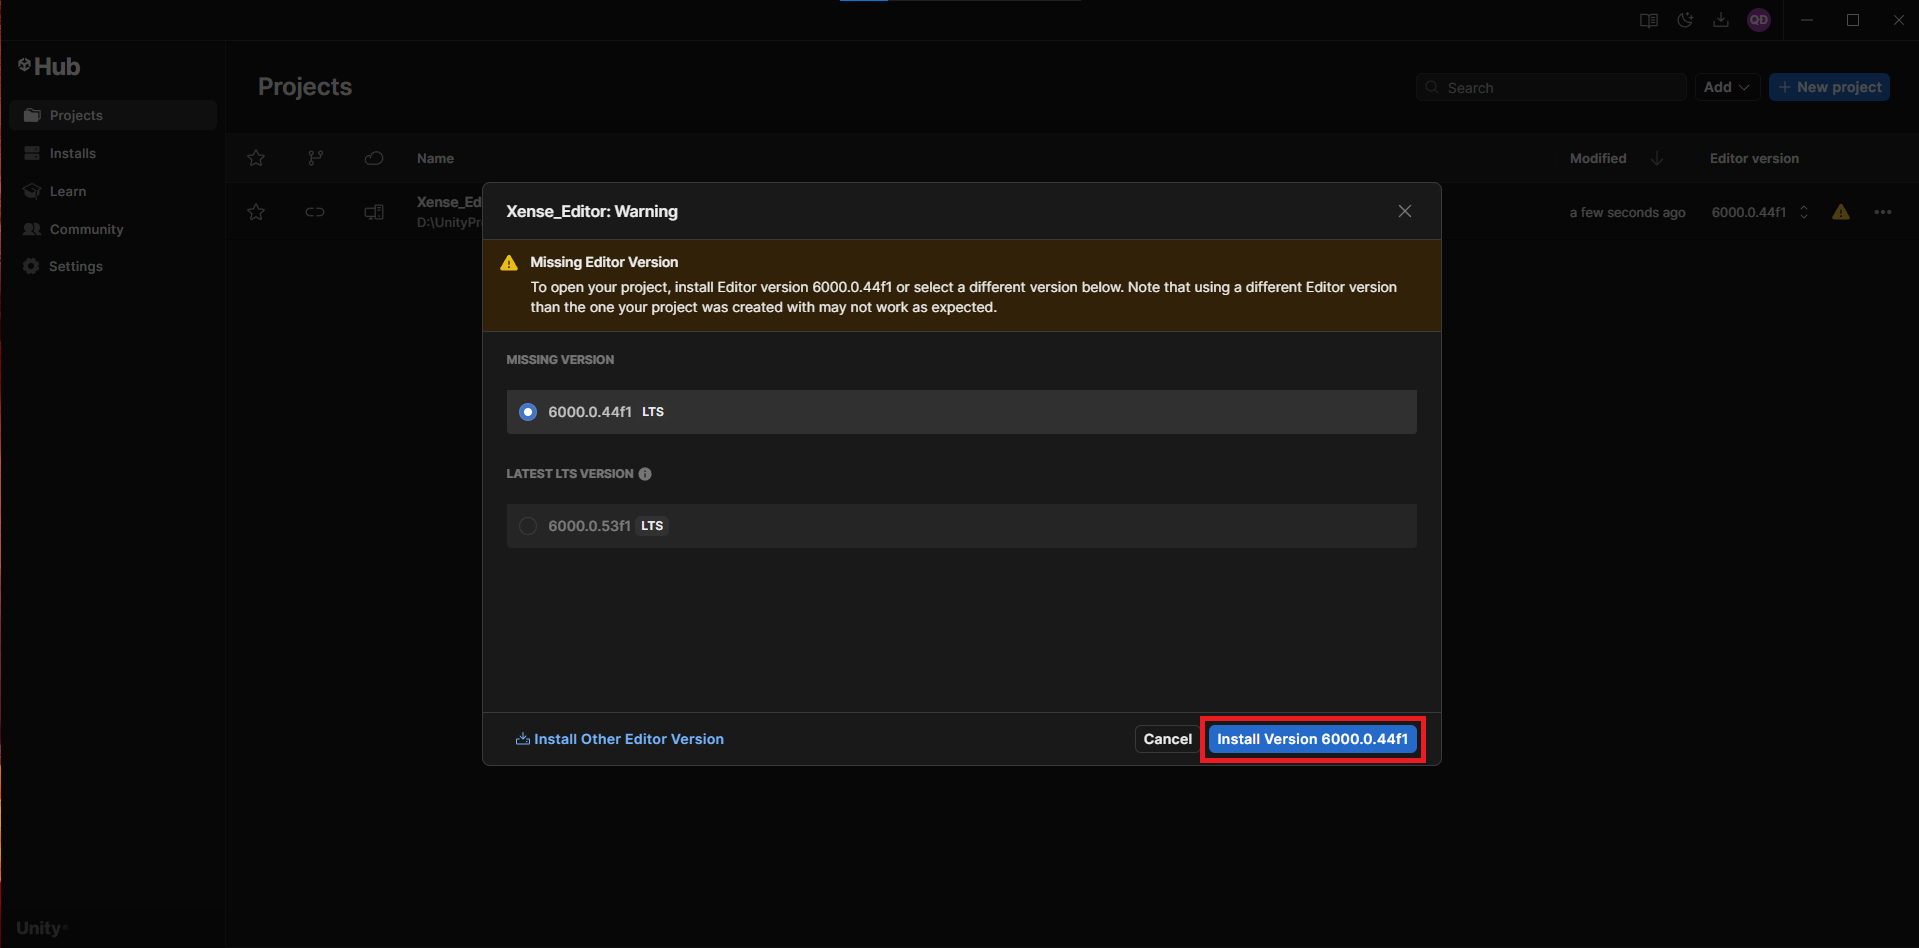
In the dialog box, select the appropriate version.
-
Select the required modules:
Windows Build Support (IL2CPP)— required for the Windows platform.Mac Build Support (Mono)— required for Apple platforms (macOS/iOS).Android Build Support,iOS Build Support— required for creating AssetBundles.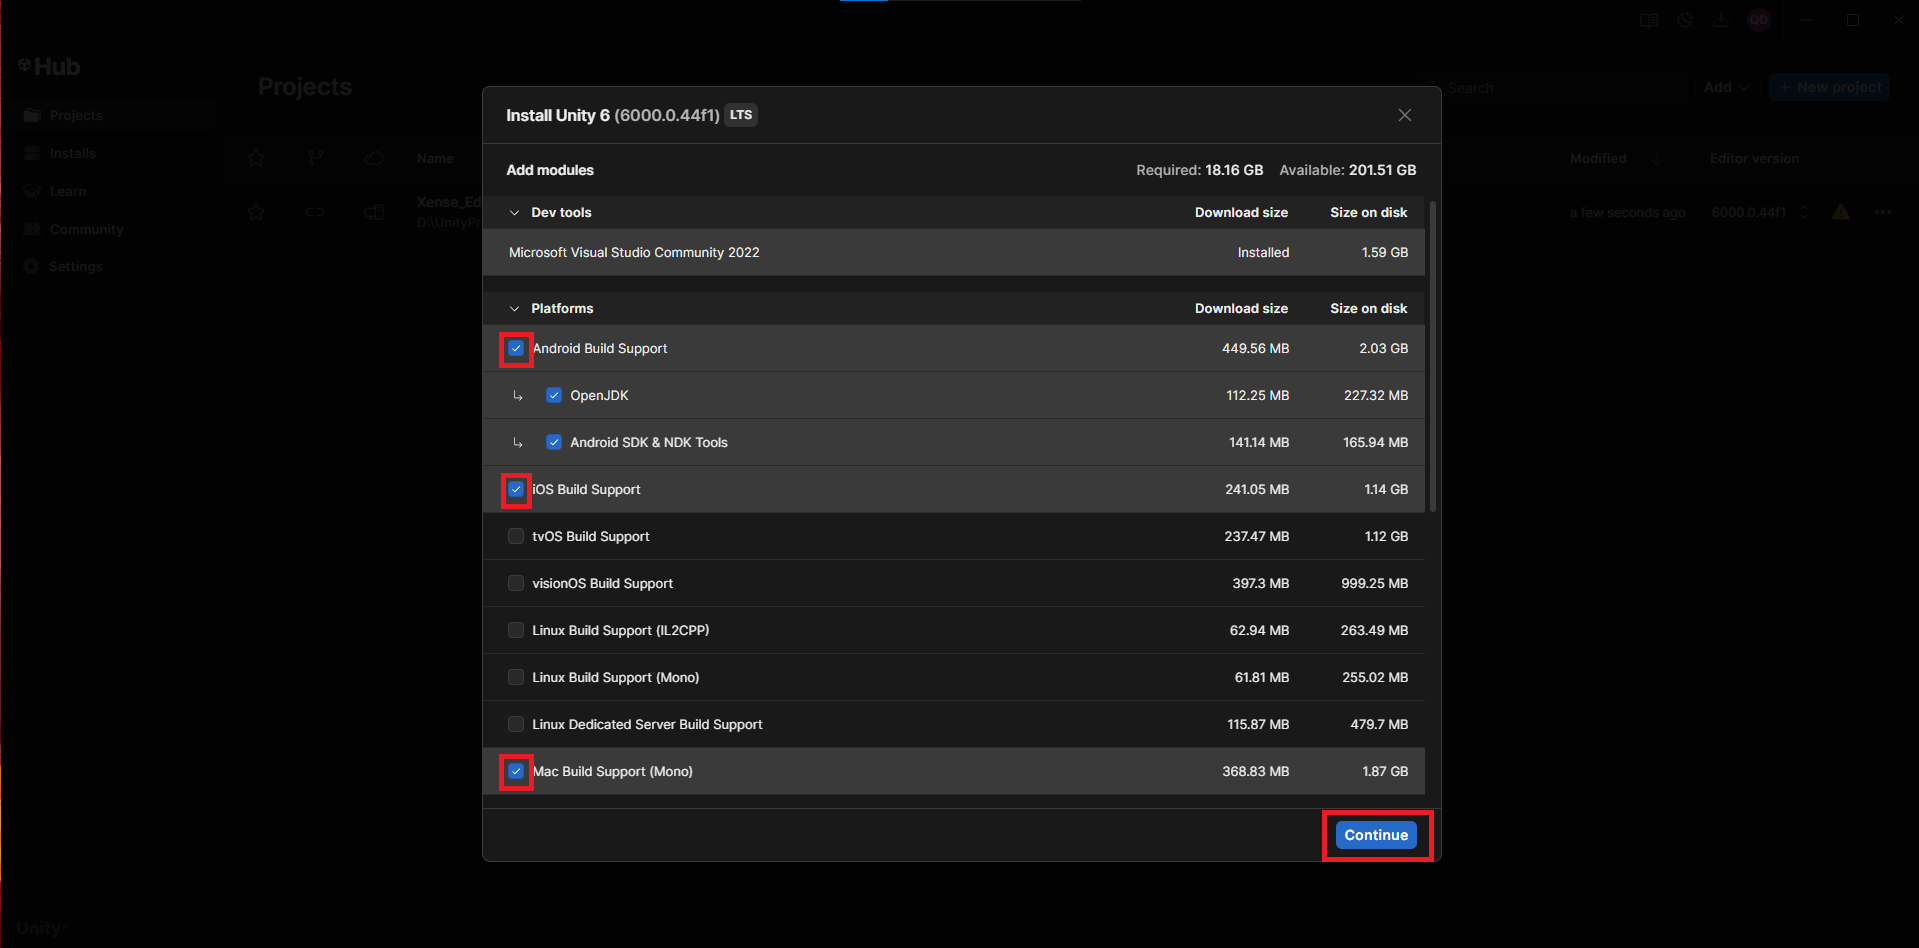
-
After the installation is complete, you can open the Project as usual.
FAQ
Older Versions
[v2.0.0] - 2025-12-24
- Assets: XenseAR_Editor.zip
[v1.0.1] - 2025-08-05
-
Assets: XenseAR_Editor.zip
-
Changelog:
- Changed the login flow.
- Fixed some minor issues.
[v1.0.0] - 2025-07-22
-
Assets:
-
Changelog:
- Fixed the
Invalid dependencieserror.
- Fixed the