MAP SELECTION AND EDITOR INITIALIZATION GUIDE
1. Overview
Map Selection is the interface that allows users to select a Spatial Map to load into XenseAR Web Editor and perform operations for building and editing AR experience content in the 3D space.
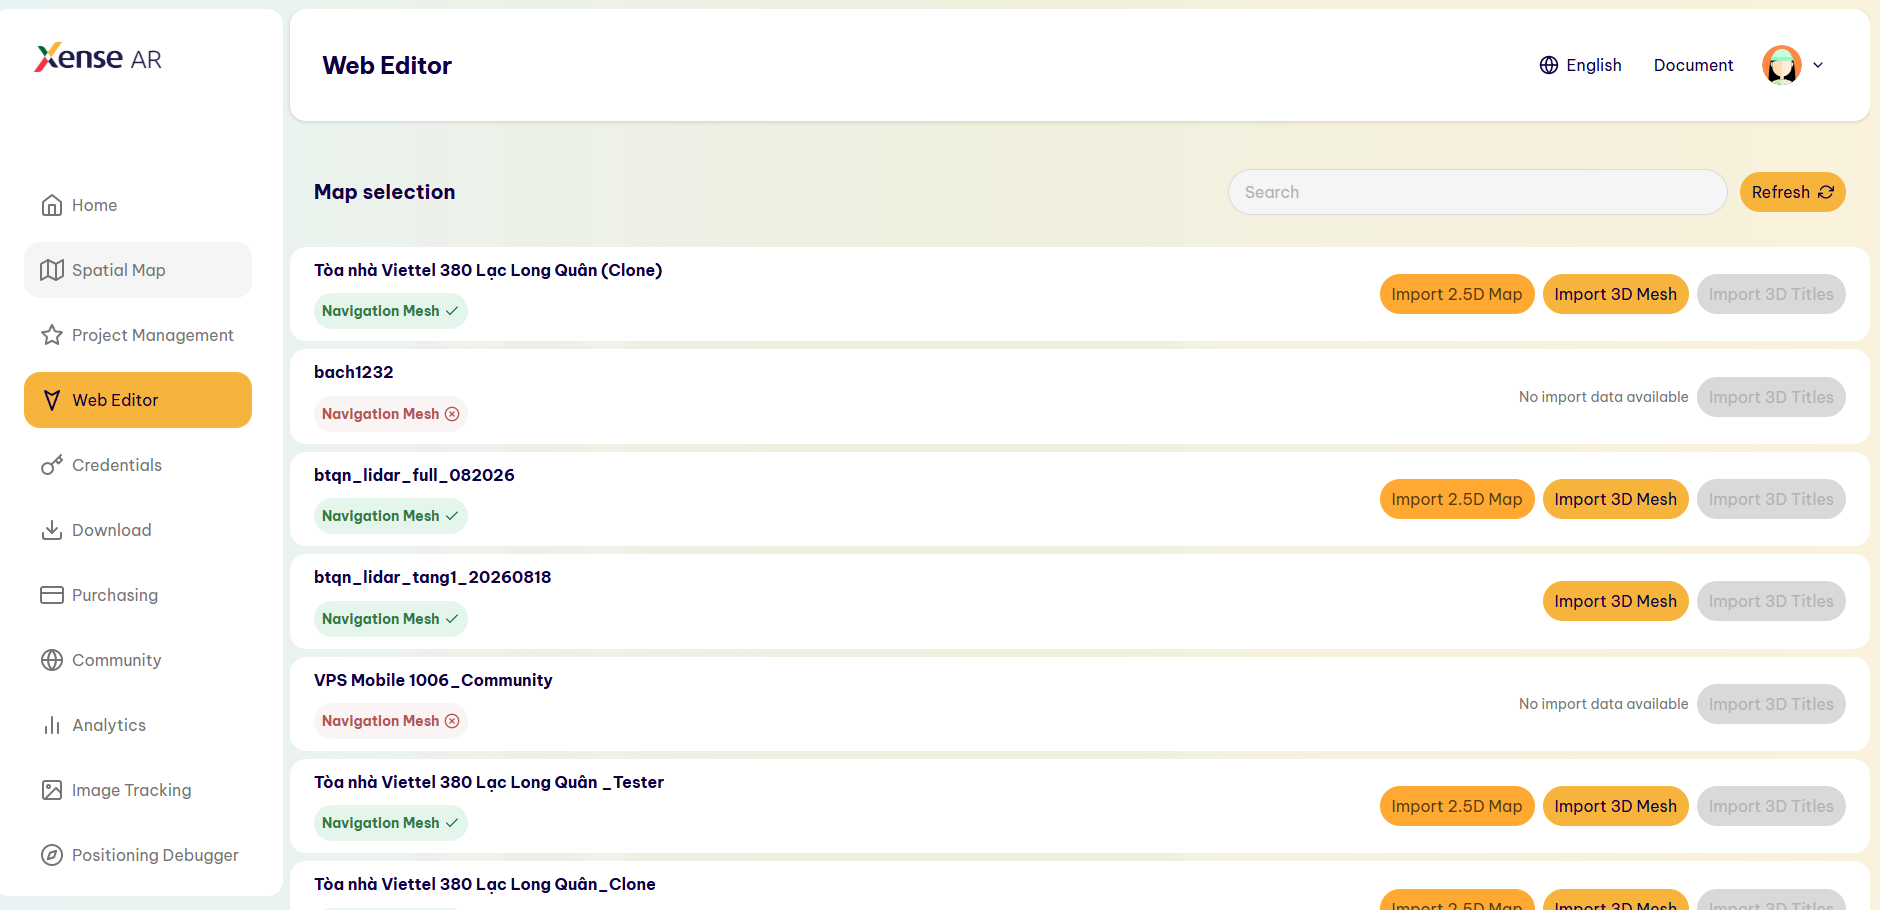
In this interface, the system displays a list of configured Spatial Maps, along with the corresponding Import Map options. Users need to select the appropriate Spatial Map and Import method based on their intended use before proceeding to Map Editor.
The interface includes the following main components:
-
Spatial Map List: Displays all available Spatial Maps, either created by the user or added from Community.
-
Search & Refresh: Allows users to quickly search for a Map by name and refresh the list if a newly created Map is not yet displayed.
-
Navigation Mesh (NavMesh): Displays the navigation area status (✓: Available / ×: Not available). It is recommended to select a Map with a NavMesh if the Project uses AR Navigation.
-
Import Map Options:
- Import 2.5D Map: Suitable for large 3D Maps to improve performance, or when using Labeling Editor. This method is required for Labels to be displayed in the App.
- Import 3D Mesh: Suitable when users need to work directly with the complete 3D space.
- Import 3D Titles: Available when the feature is supported.
2. Map Selection Principles
Select the appropriate Map type from the beginning based on the intended use to avoid having to reconfigure content in later steps:
- For large Maps or when using Labeling: Prefer Import 2.5D Map.
- For detailed 3D spaces: Select Import 3D Mesh.
Standard Workflow
Identify Spatial Map → Determine Usage Requirements → Select 2.5D or 3D Mesh → Import Map → Open Map Editor → Build Content
3. Editor Initialization and Project Opening
Step 1: Access and Search for a Map
- Open the Web Editor page.
- Search for the required Spatial Map using the Search bar.
- Click Refresh if a newly created Map is not yet displayed.
Step 2: Check the Status and Import the Map
- Check the Navigation Mesh status if navigation functionality is required.
- Select Import 2.5D Map or Import 3D Mesh according to the deployment requirements.
Step 3: Initialize and Check Map Editor
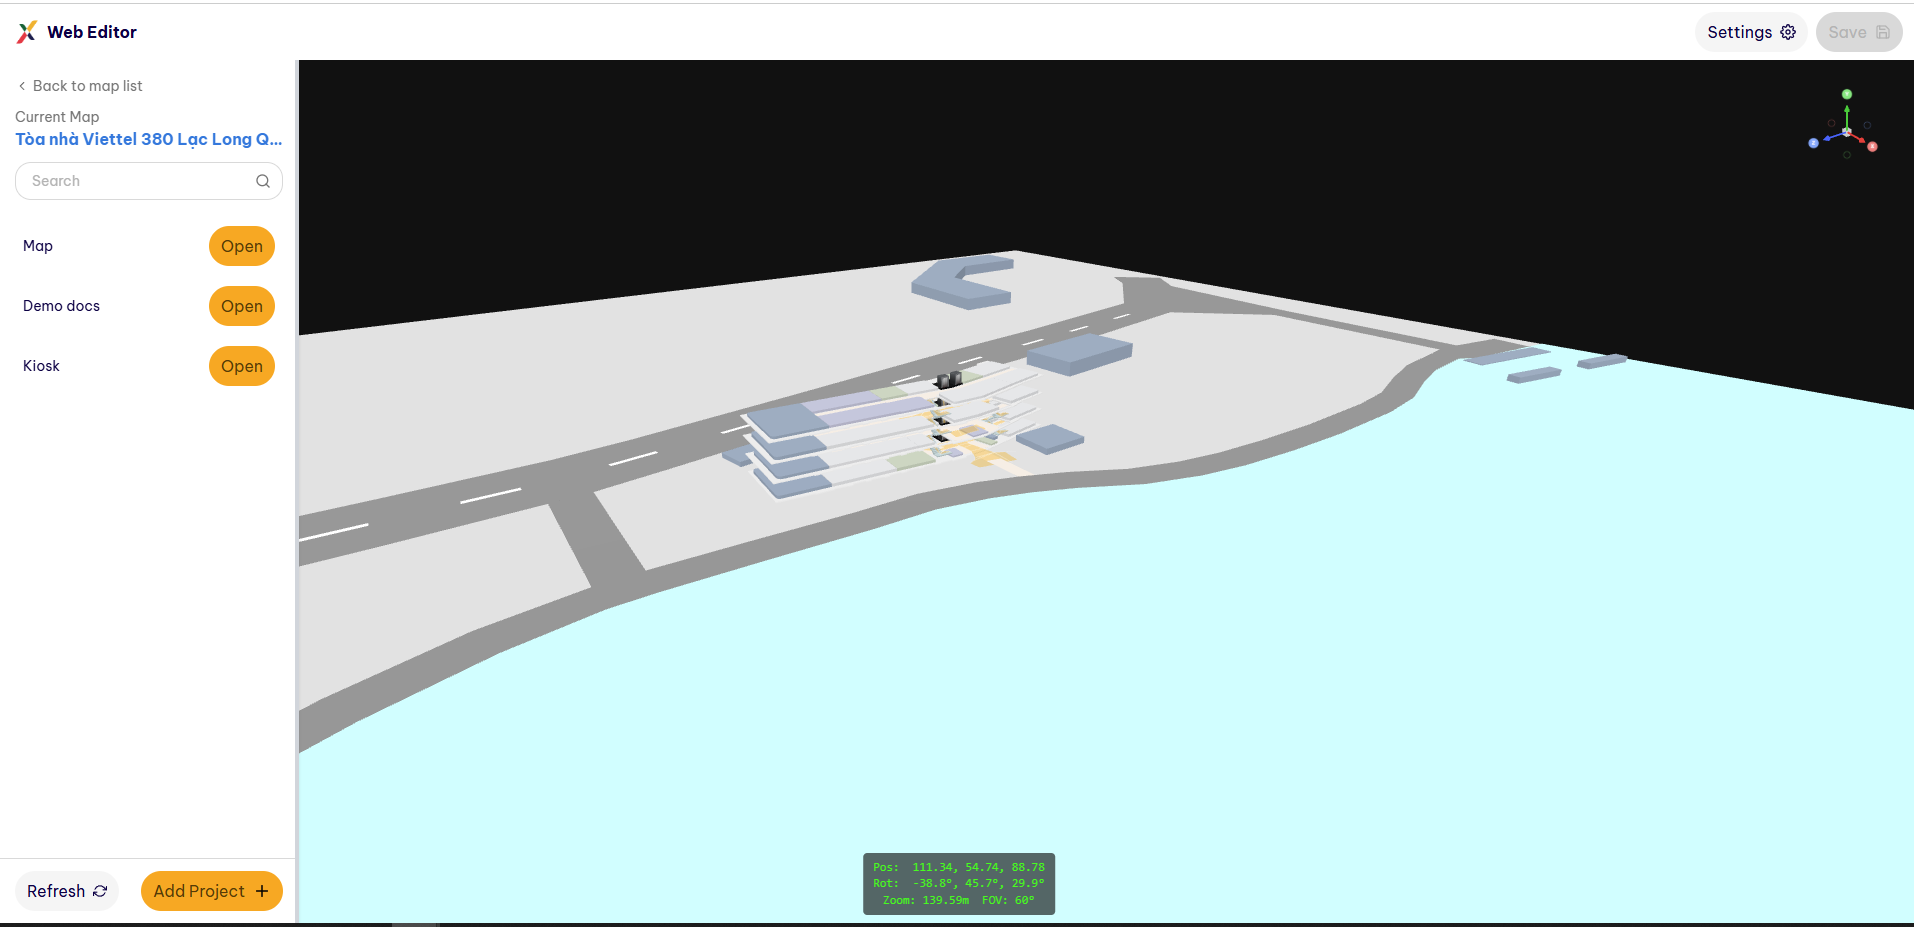
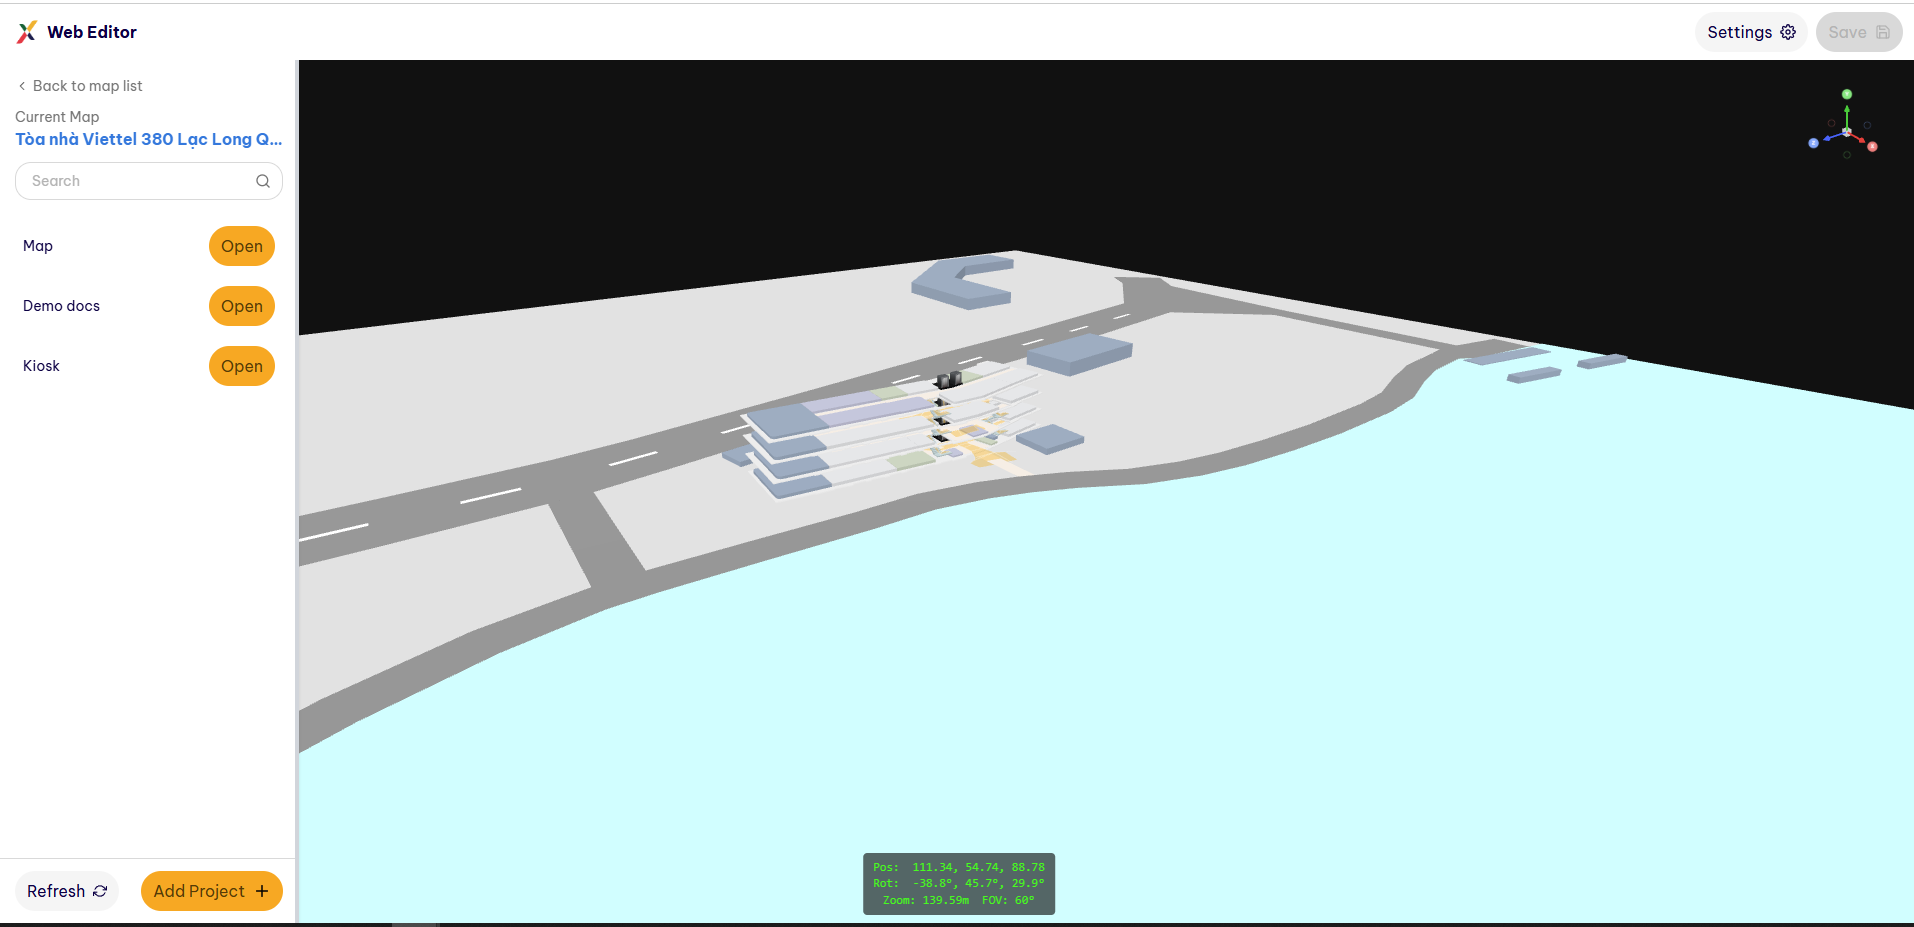
After the Map is successfully imported, the system switches to the Map Editor interface, which includes the Sidebar and 3D Viewport, allowing users to review the overall space.
Step 4: Open a Project for Editing
- In the Sidebar of Map Editor, the system displays a list of Projects associated with the Map.
- Use the Search bar to find a Project.
- Click Add Project to create a new Project.
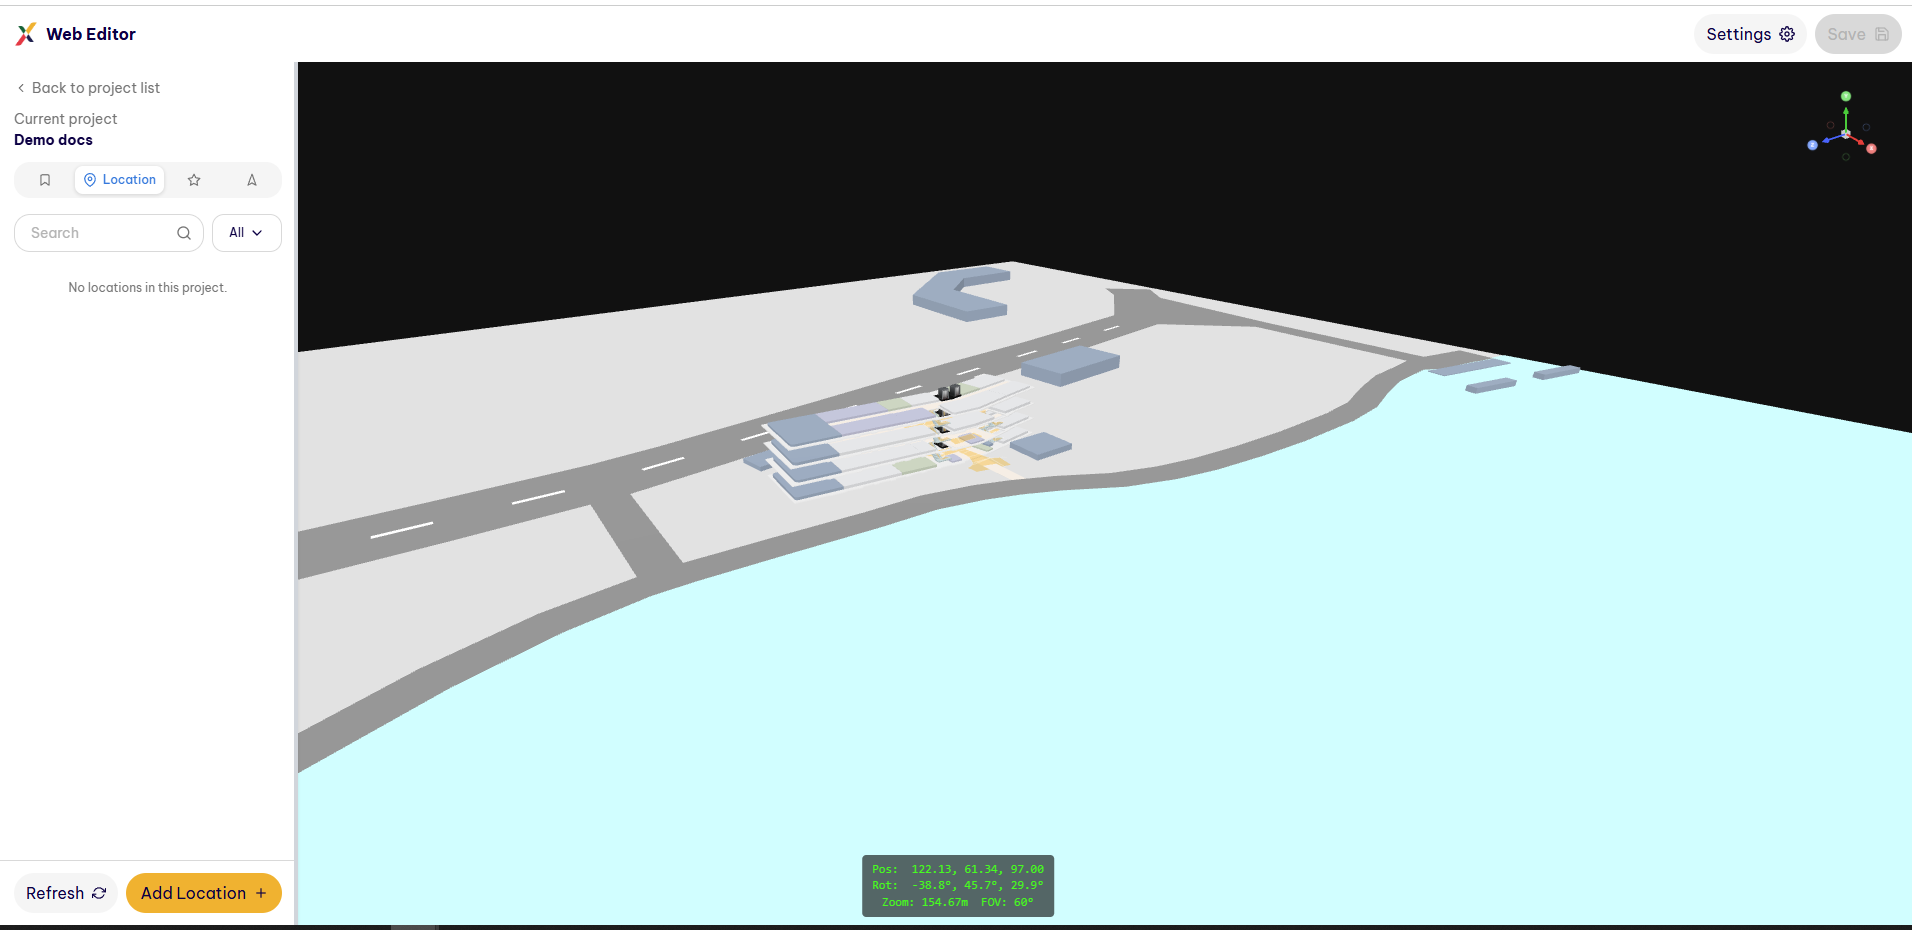
- Click Open on the corresponding Project to switch to the Project Editor interface and begin configuring content such as Content, Location, Labeling, Test Navigation, and more.