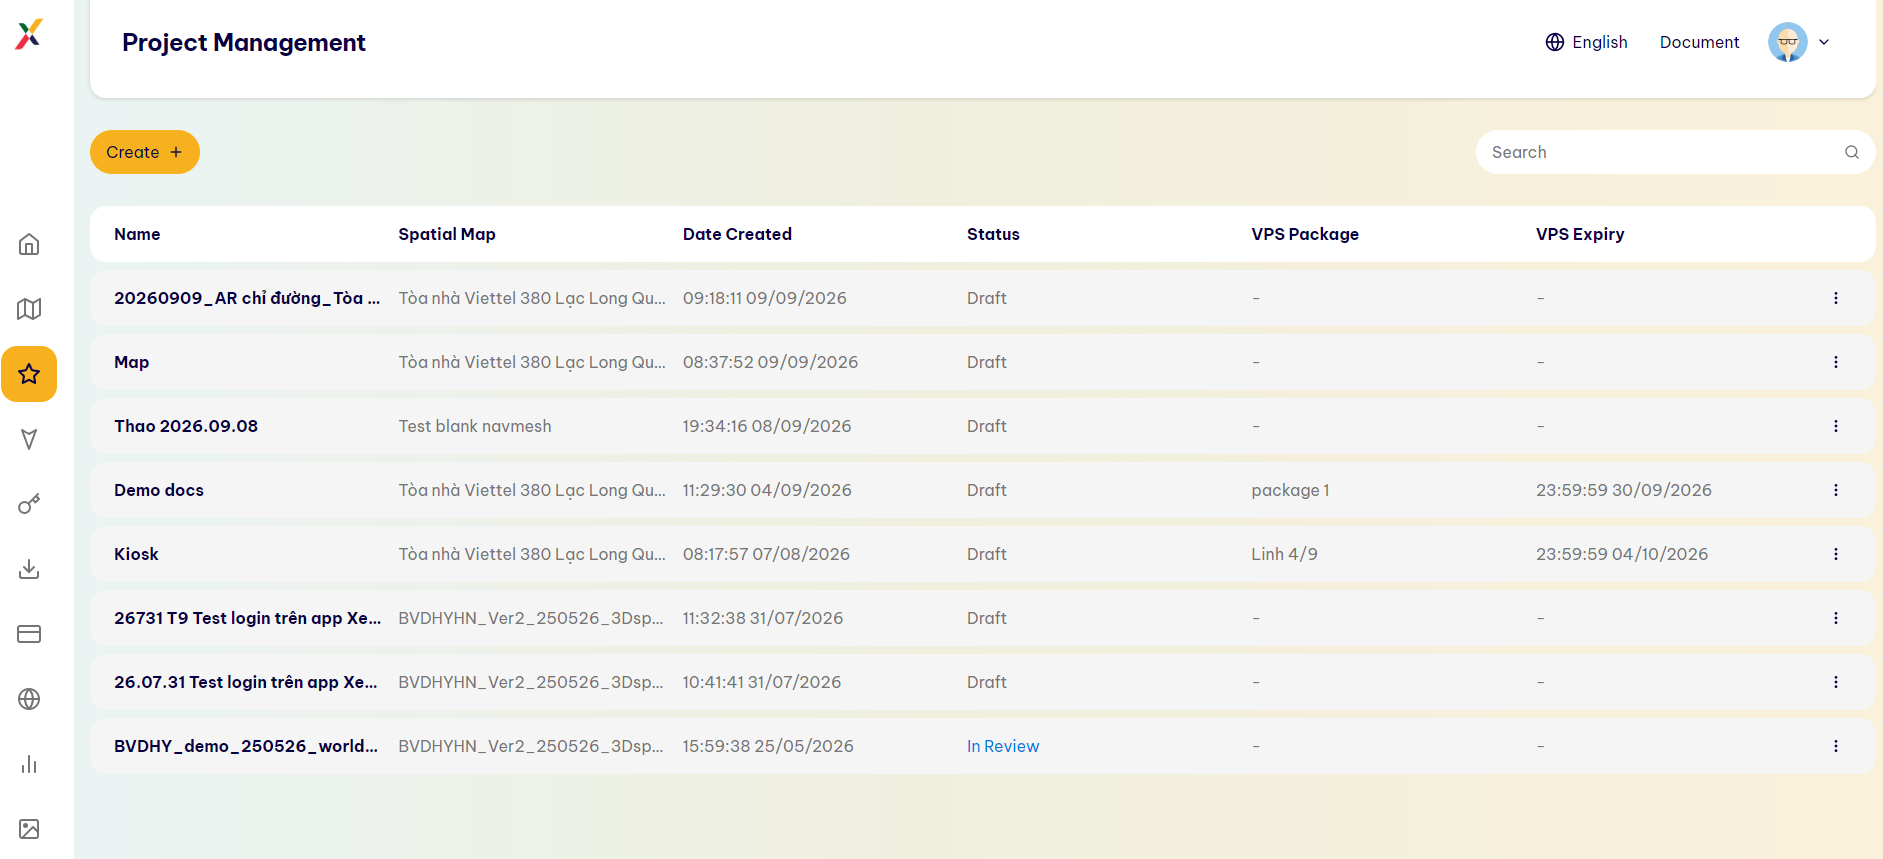
Step 1 – Open Project Management
From the system interface, go to Project Management.
Here, the system displays a list of existing Projects along with their corresponding management information.
To start creating a new Project:
- Go to Project Management.
- Click the [Create +] button in the upper-left corner of the screen.
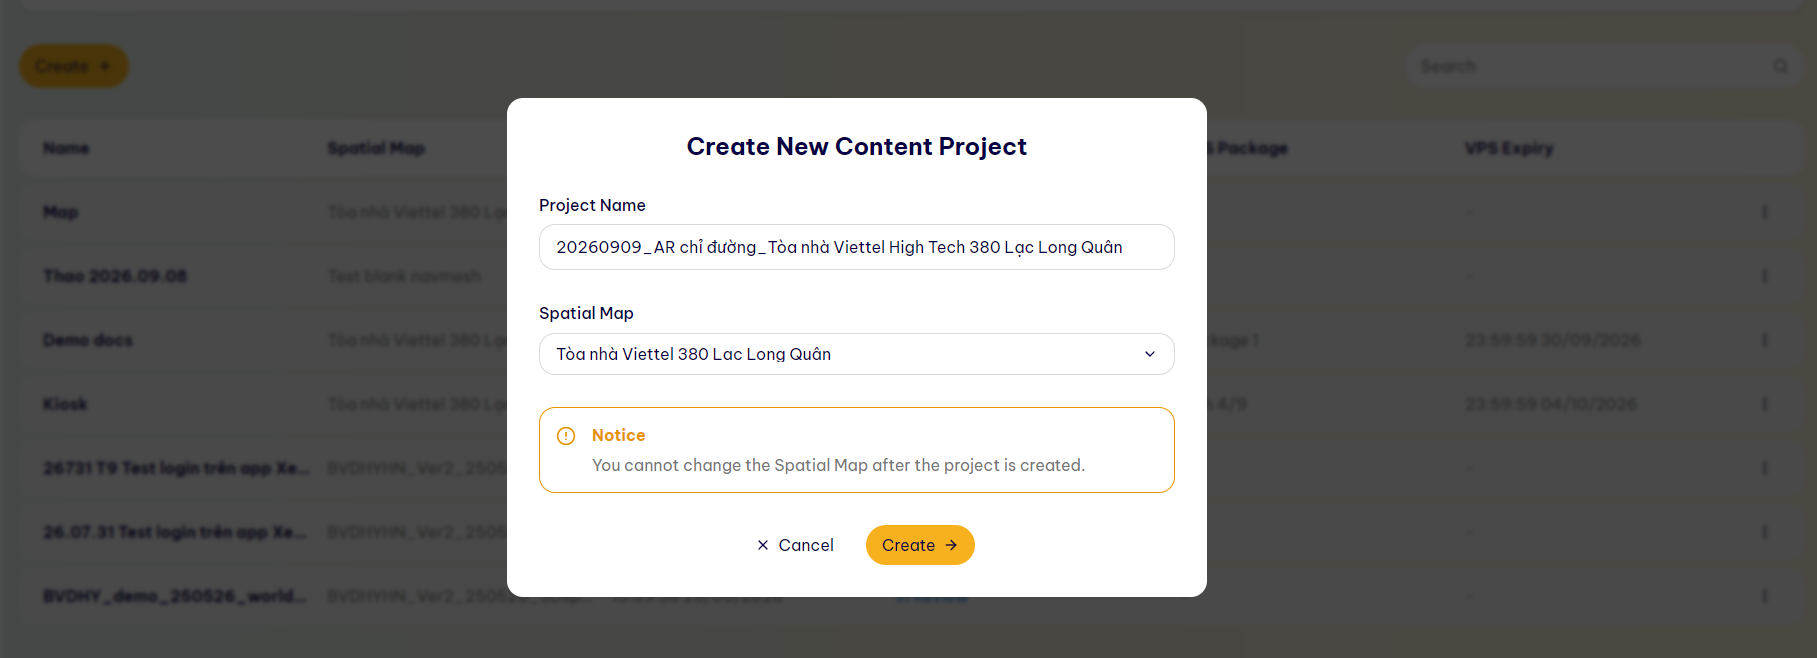
- The system opens the Create New Content Project window.
Note: Before creating a Project, make sure the Spatial Map you want to use has been uploaded and is available in the Spatial Map section. The Spatial Map cannot be changed after the Project is created.
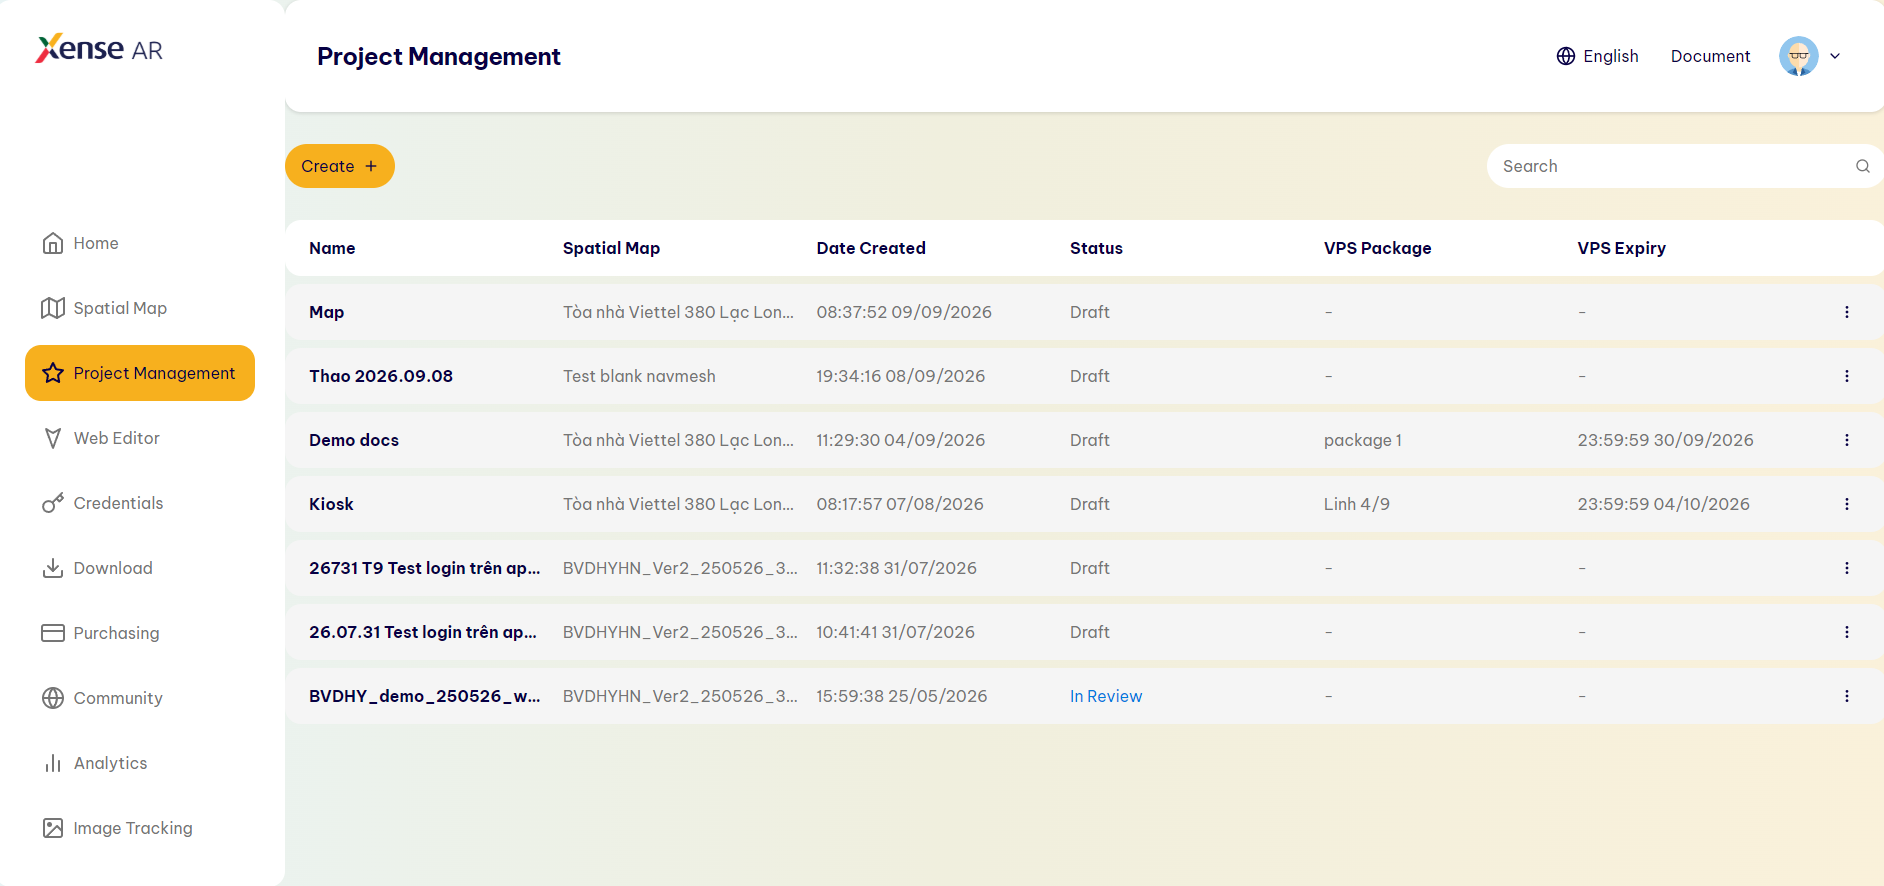
Step 2 – Enter Project Name
In the Create New Content Project window, enter the Project name in the Project Name field.
For easier Project management and search, it is recommended to follow a consistent naming convention.
Example: [Map Creation Date]_[Experience Name]_[Location/Building/Event Name]
Note: Avoid using names that are too short or do not clearly describe the Project content, especially when multiple Projects use the same Spatial Map.
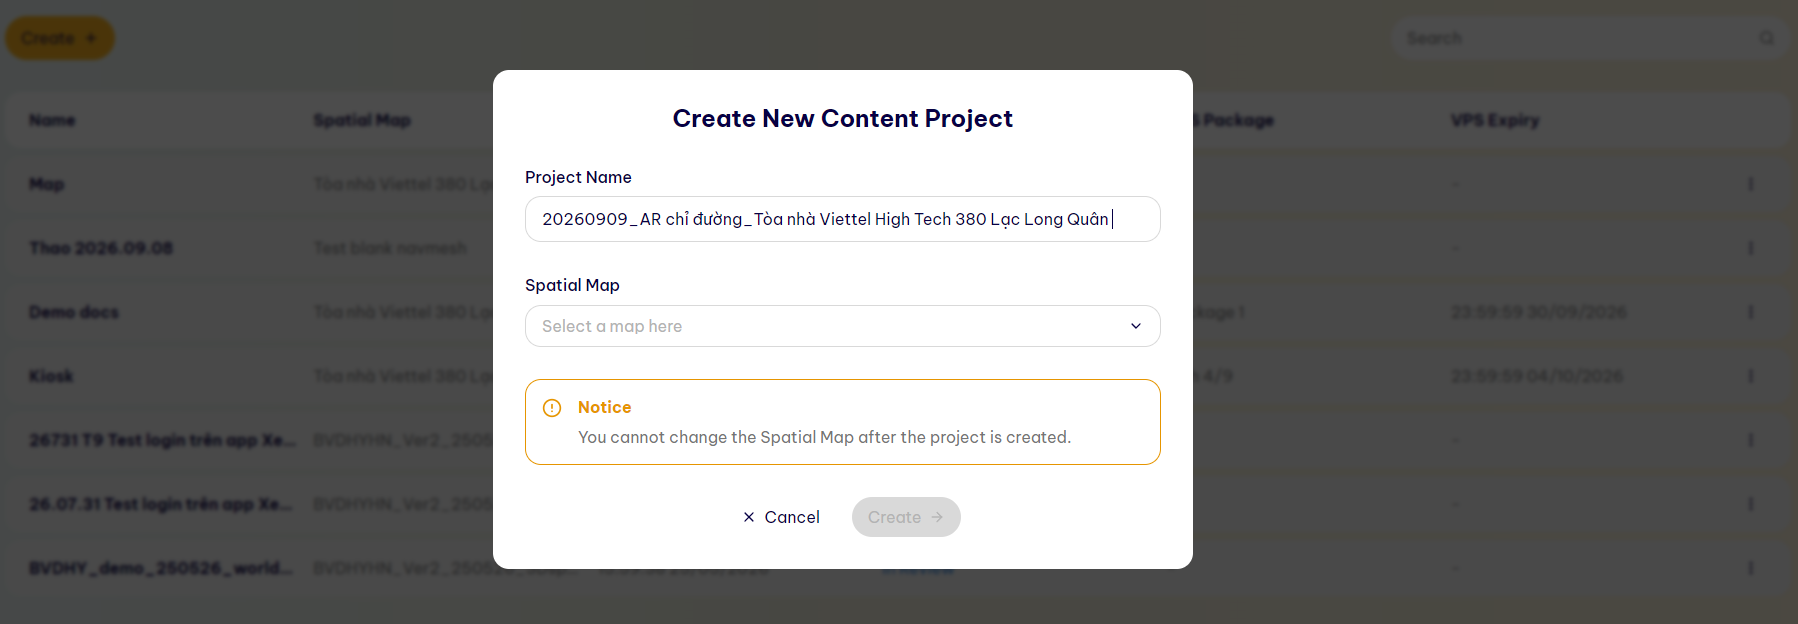
Step 3 – Select Spatial Map
Select the Spatial Map to use for the Project. The list of available Spatial Maps is displayed when the Creator opens the selection field.
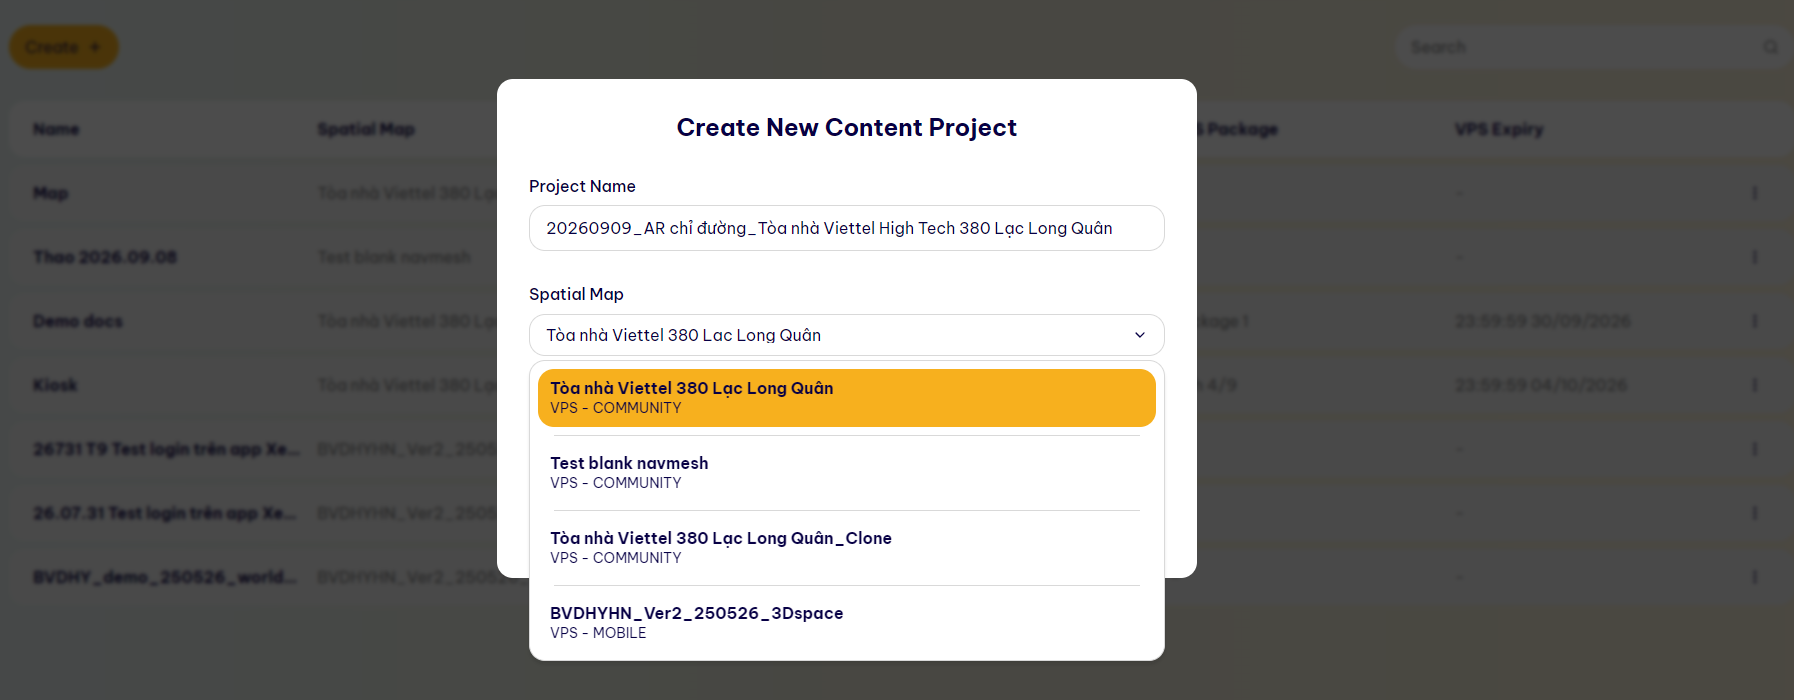
Step 4 – Create the Project
After completing:
- Project Name
- Spatial Map
Review the entered information and click [Create →].
If the Creator does not want to continue creating the Project, click [x Cancel] to close the Project creation window.
Step 5 – Verify the New Project
After creation, the Creator is returned to the Project Management screen.
The newly created Project appears in the Project list with information such as:
- Name
- Spatial Map
- Date Created
- Status
- VPS Package
- VPS Expiry