XENSE AR APP SCAN USER GUIDE
1. Overview
1.1. Application Introduction
Spatial Scanner is a dedicated mobile application within the XenseAR ecosystem, allowing users to quickly and accurately collect real-world spatial data (Spatial Data) using a smartphone camera.
The data collected by the application is processed to:
- Reconstruct physical spaces into 3D models (3D Mesh / Point Cloud).
- Establish a visual spatial positioning system (VPS - Visual Positioning System).
- Synchronize directly with the XenseAR Portal to build AR projects (Worldspace), allowing 3D objects, effects, and interactive information to be accurately placed in the real world.
1.2. Suitable Users & Space Coverage
- Space coverage: Optimized for small to medium-sized areas under
100 m²(up to1,000 m²per segment), such as exhibition rooms, showrooms, retail stores, cafés, classrooms, event booths, etc. - Users: AR content operation teams, architects/designers, site survey staff, or anyone who wants to digitize a real-world space.
2. Application Installation Guide
2.1. Download & Installation
For iOS
- Open the App Store on your iPhone.
- Search for Spatial Scanner.
- Tap Get and complete Face ID/Touch ID authentication to download the application.
For Android
- Open Google Play Store.
- Search for Spatial Scanner or install the APK package.
- Tap Install.
2.2. Initial Permissions
When opening the application for the first time, the system requests several permissions:
- Camera: Required — allows the application to capture images and generate the AR scanning trajectory.
- Storage / File Management: Required — used to temporarily store compressed package files on the device.
- Location: Recommended — helps assign geographic coordinates to the spatial map.
3. Login & Account Management
The application is designed to be flexible: users can perform scans without logging in.
However, login is required when synchronizing data to the Cloud platform or viewing online Spatial Maps.
3.1. Login Methods
-
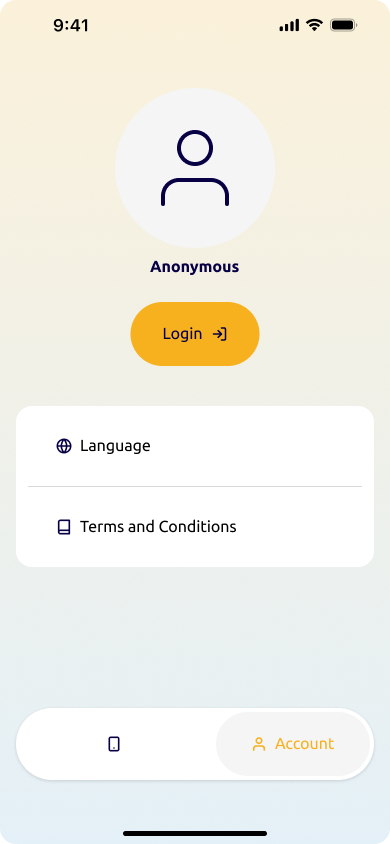
Open the application and select the Account tab (the user icon in the lower-right corner).
-
While in the logged-out (
Anonymous) state, tap Login. -
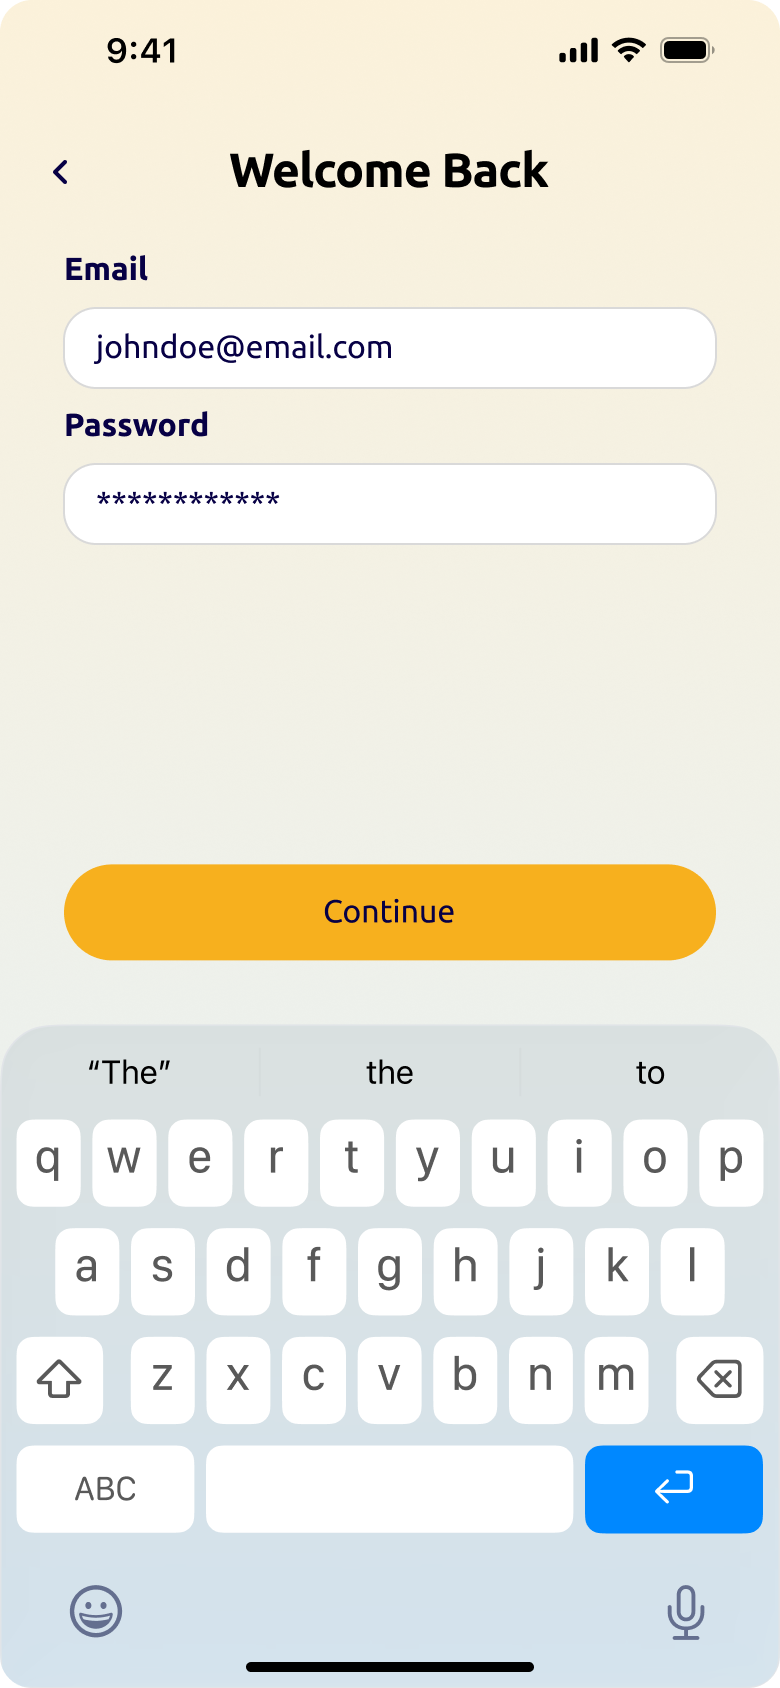
On the Welcome Back screen:
- Enter the account Email registered on the XenseAR Portal .
- Enter the Password.
-
Tap Continue.
-
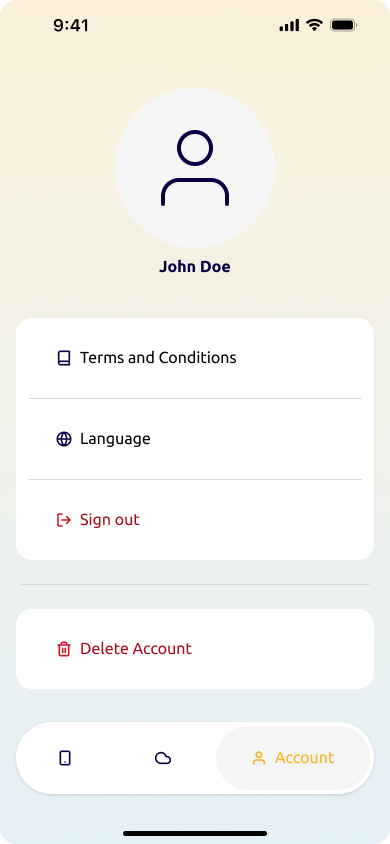
After a successful login, the screen displays the user’s name and advanced features.
3.2. Account Menu Management
After logging in, the Account tab provides the following options:
| Function | Description |
|---|---|
| My Library | Shortcut for managing your project and map library. |
| Language | Switch between Vietnamese and English interfaces. |
| Terms and Conditions | View the terms of use and data policy. |
| Sign out | Sign out of the account on the device. Scans stored on the device will not be deleted when signing out. |
| Delete Account | Request permanent account deactivation and deletion in accordance with the privacy policy. |
4. Guide to Creating a Package (Local Scan)
A Local Scan Package is a complete data package containing spatial images and motion sensor data, packaged on the device before being uploaded to the Cloud.
4.1. Procedure
Step 1: Create Scan Information
-
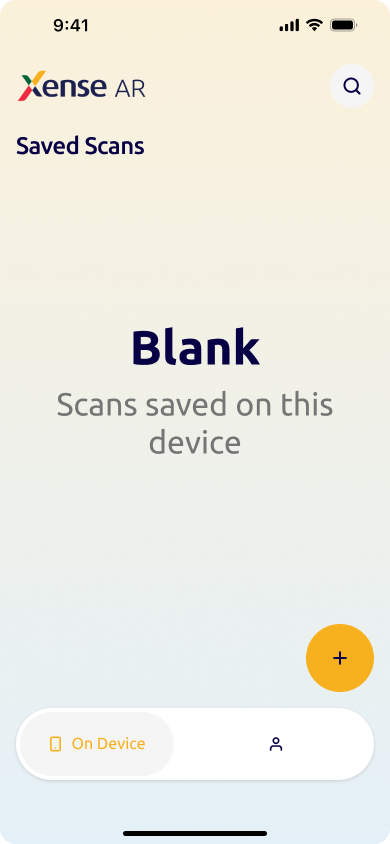
On the home screen, select the On Device tab (device icon).
-
Tap the yellow Add (+) button (Floating Action Button).
-
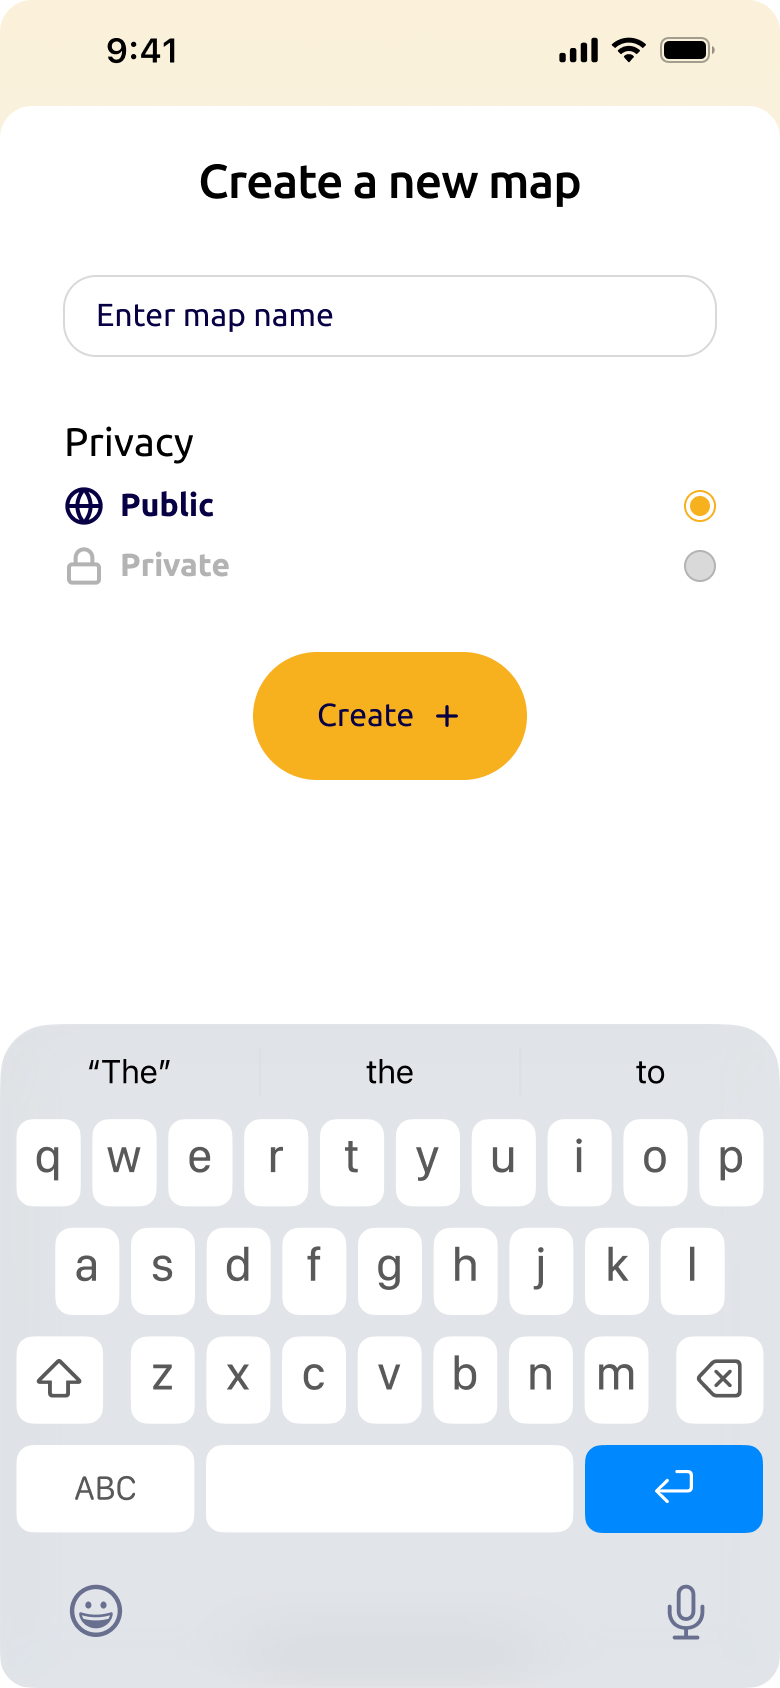
The Create a new map panel appears.
-
Enter map name: Enter the name of the scanned location. Example:
Sanh_Chinh_Tang_1,Showroom_Oto. -
Privacy: Select the access level:
- Public: Publicly accessible within the organization/community.
- Private: Only you can view and access it.
-
-
Tap Create + to activate the AR scanning camera.
Step 2: Prepare the Camera Angle & Space
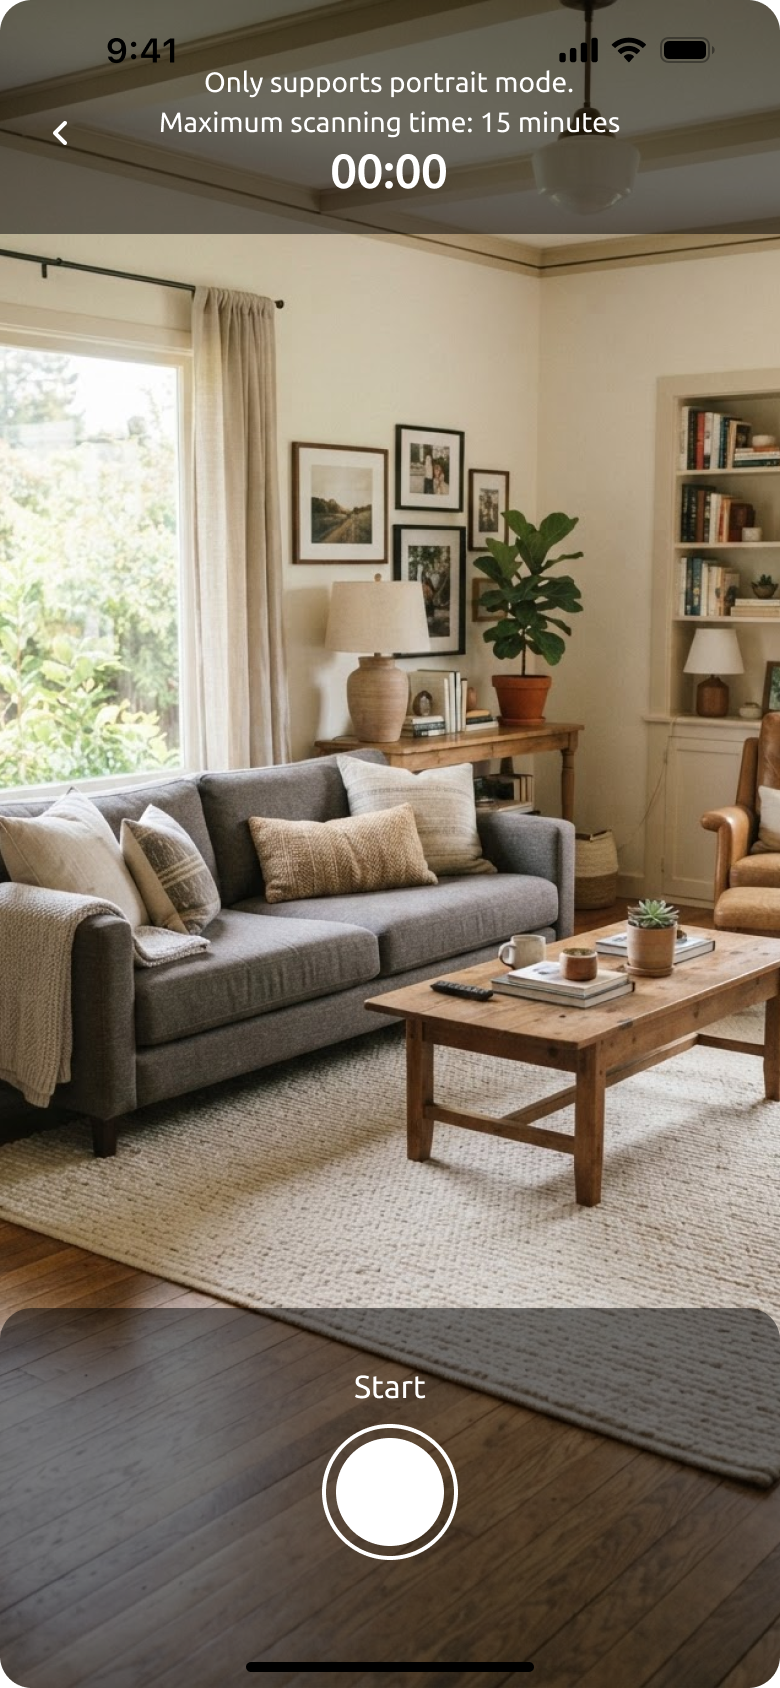
Important: The screen displays the message “Chỉ hỗ trợ quay dọc”. You must keep the device in Portrait orientation throughout the recording process.
Before starting the recording:
- Clear the area as much as possible.
- Avoid people or moving objects crossing in front of the camera.
- Ensure consistent lighting throughout the space.
- Ensure that the camera can clearly capture environmental features.
Step 3: Start Recording
-
Point the camera toward the area where you want to start and tap Start (the white circle with an outline).
-
The Timer starts running.
- First 15 seconds: The Stop button is displayed in gray (Disable). You cannot stop the recording because the system requires at least 15 seconds of data to build the map.
- From the 15-second mark onward: The Stop button turns red (Enable). You can tap it to end the recording at any time.
- Maximum duration: Each scan can last up to 15 minutes. When the 15-minute limit is reached, the system automatically stops the recording and packages the data.
-
If you want to cancel an unsuccessful recording, tap Cancel in the upper-left corner.
The system will discard all incomplete recording data without saving it to the device.
Step 4: Save the Package
Immediately after tapping Stop, the screen displays a “Saving…” dialog with a processing icon.
During this process, the video and sensor data are compressed into a Local Scan Package.
After saving is complete, the screen automatically returns to the On Device tab. The new scan package appears in the list with:
- Status label “Not Uploaded”.
- Duration, for example:
07m29s. - File size, for example:
368 MB.
4.2. Managing Packages on the Device
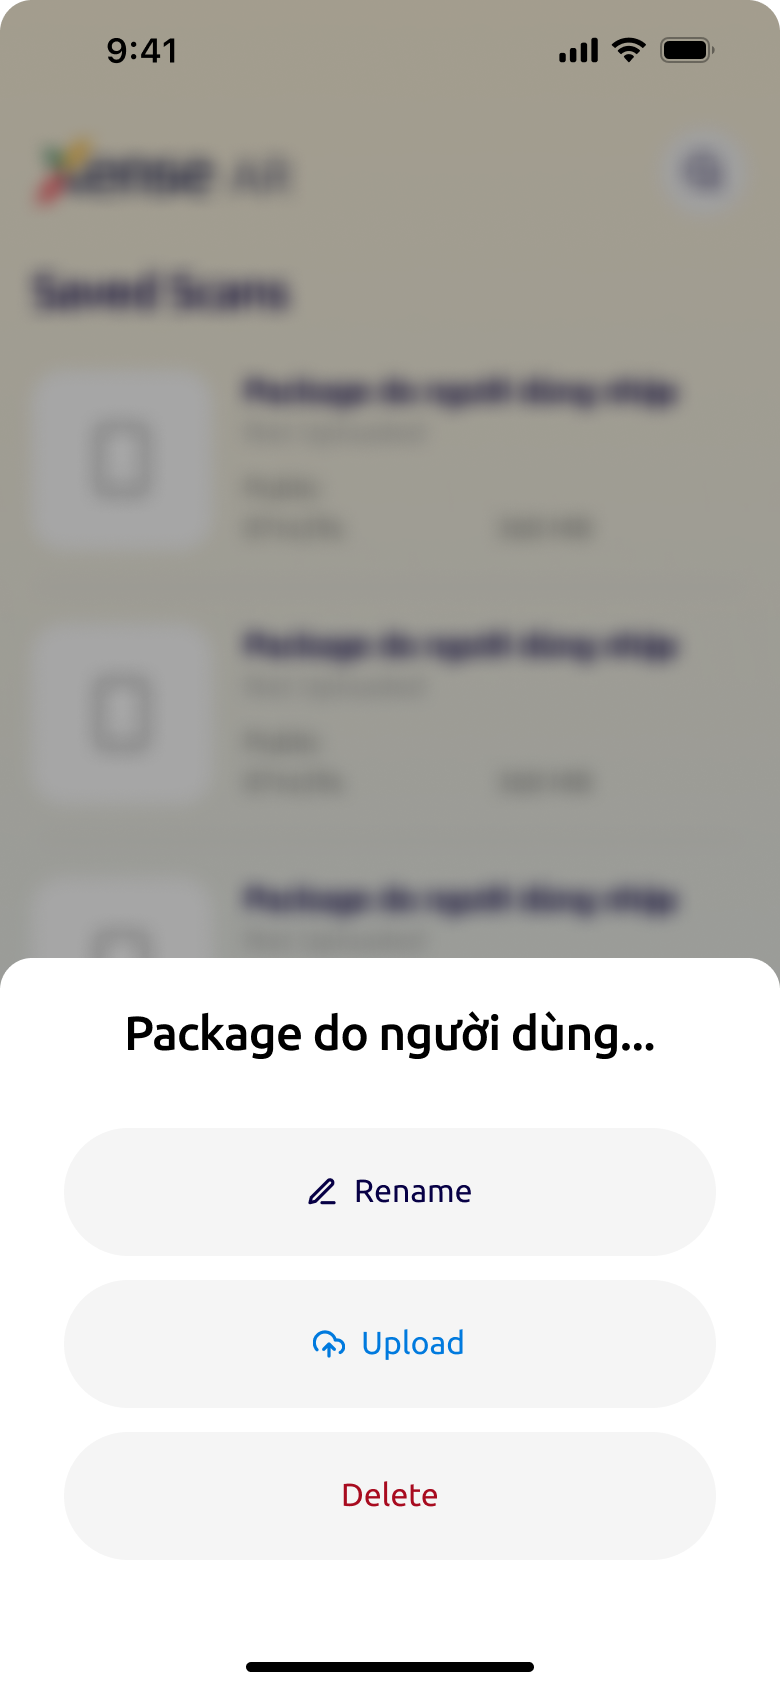
On each scan card in the On Device tab, you can tap the package to perform the following actions:
- Rename: Rename the scanned location. Available only when the scan package has not been uploaded.
- Delete: Permanently delete the scan file from the device to free up storage.
- Upload: Start uploading the file to the Cloud platform.
5. Upload Package to the Cloud & Create a Spatial Map
Uploading transfers the data package from the user’s device to the server so that the system can generate a 3D spatial map (Spatial Map).
5.1. Upload Procedure
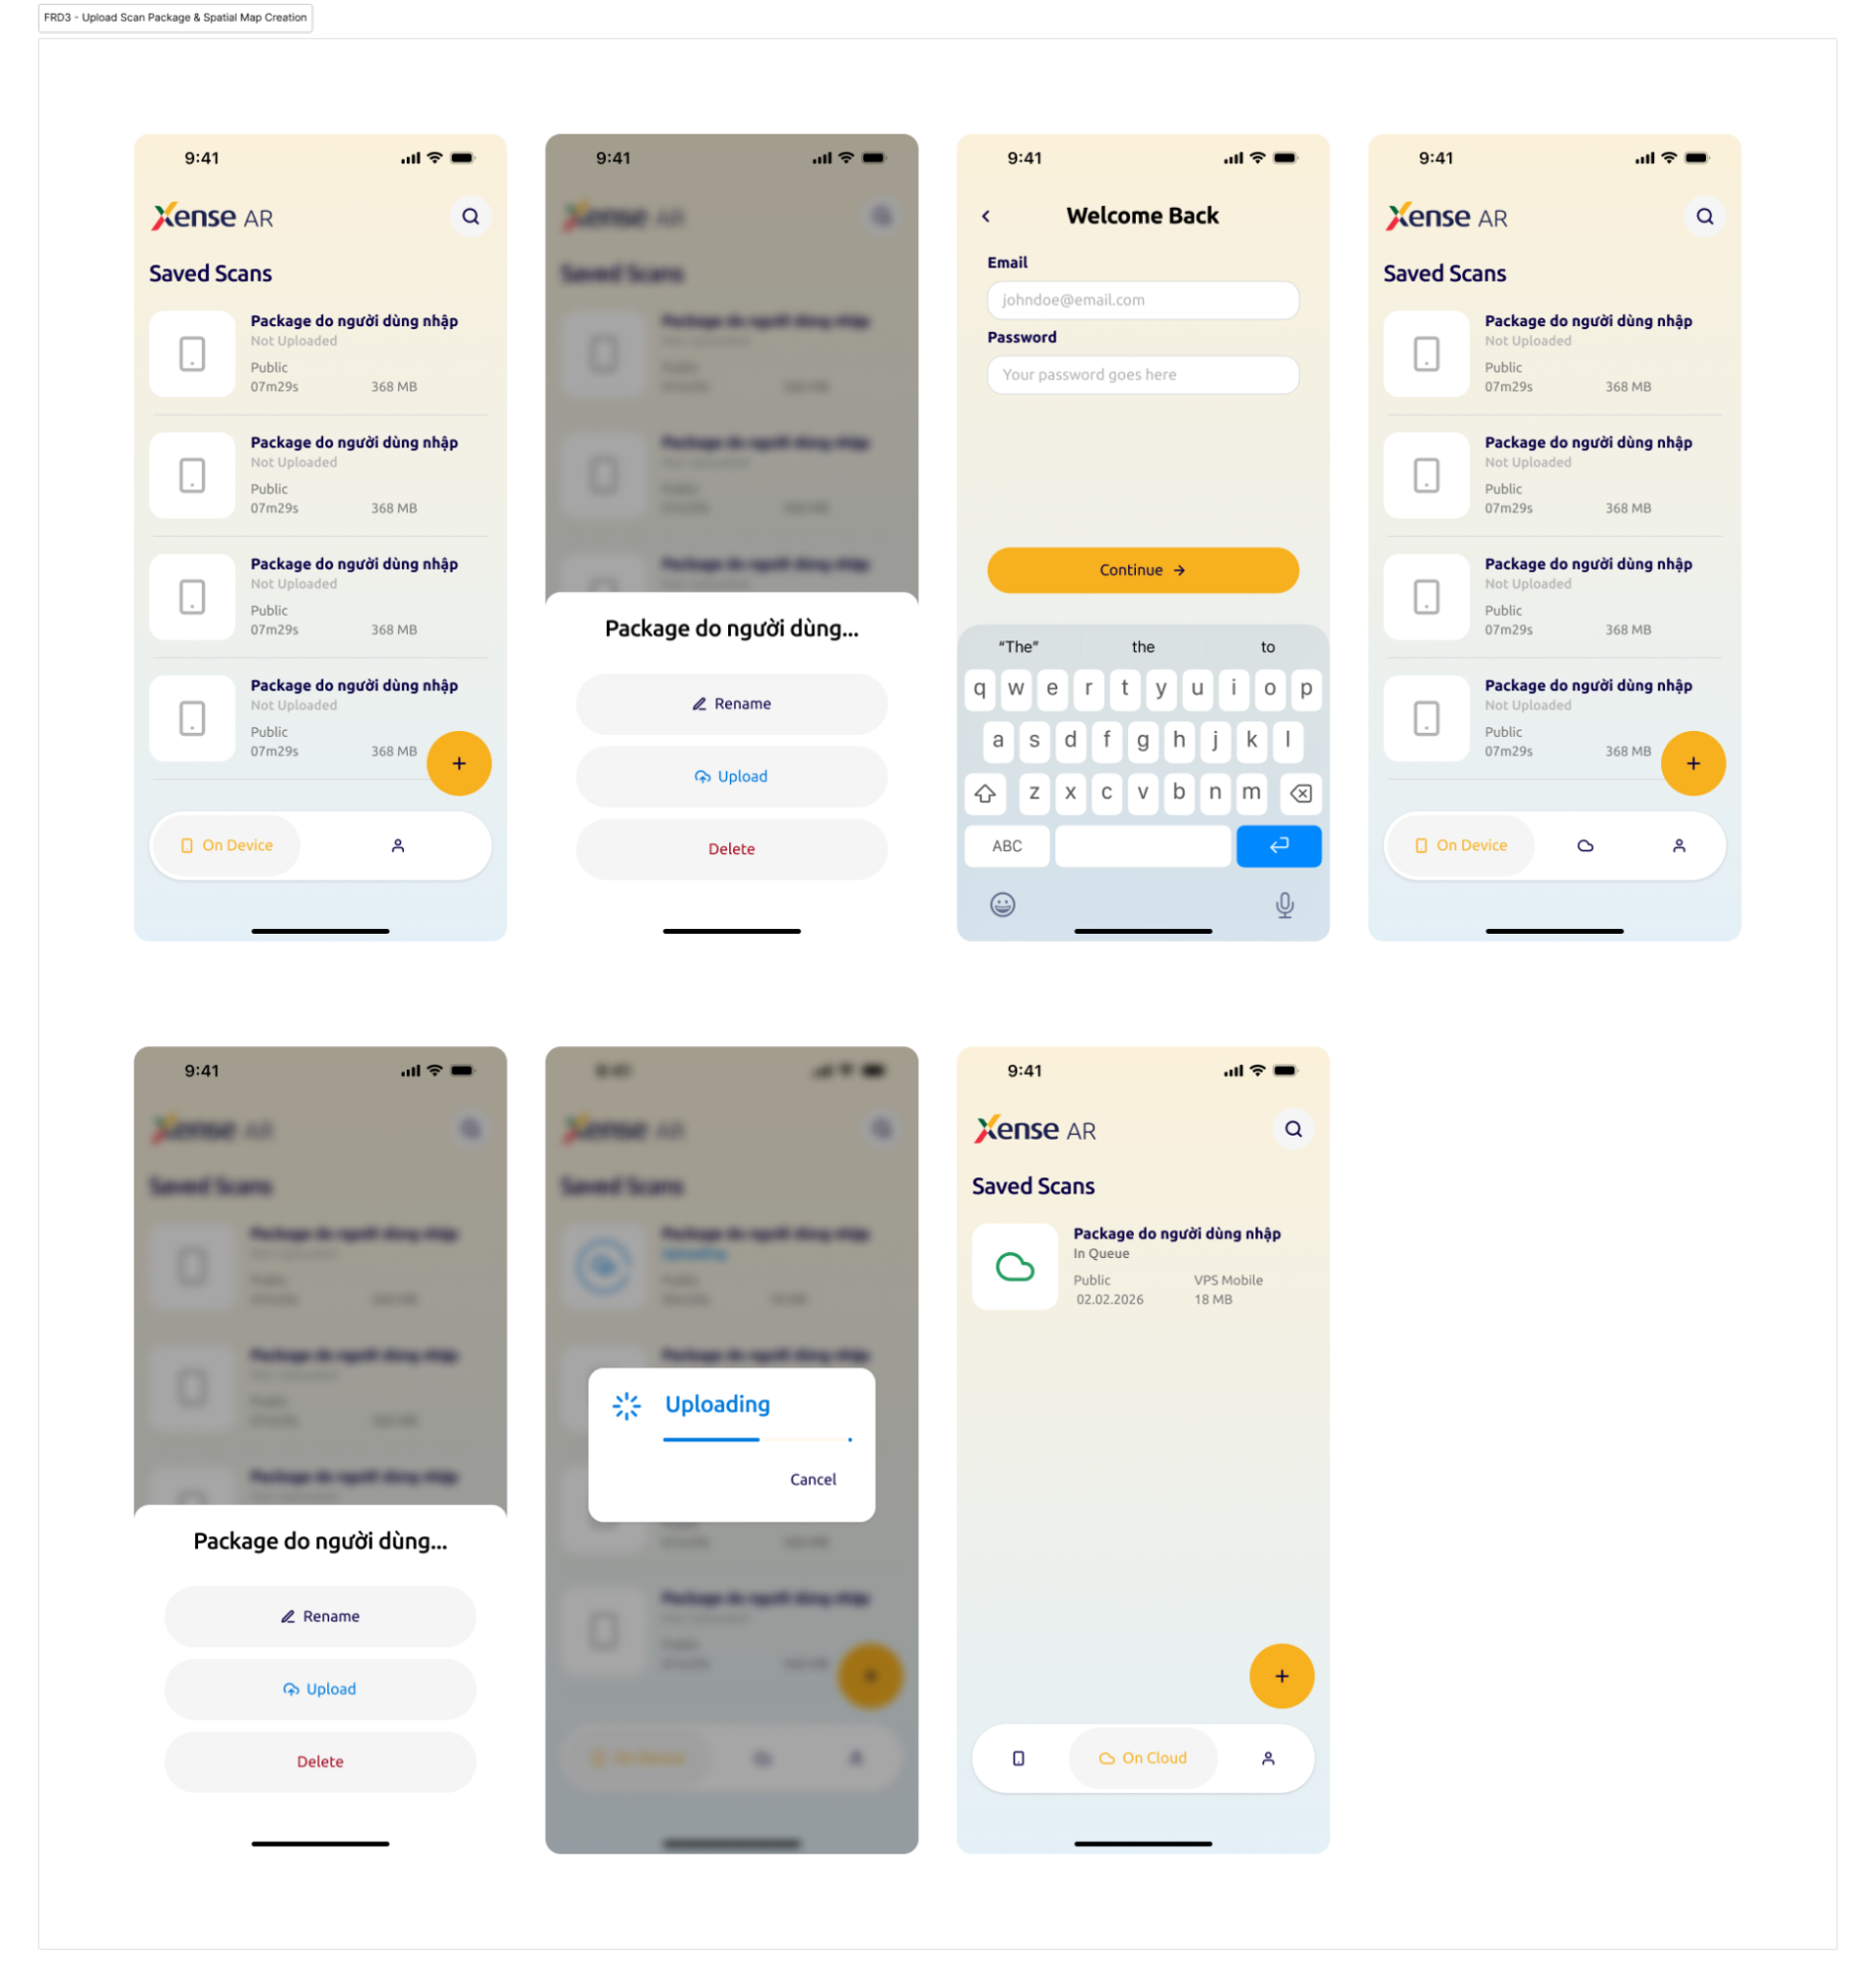
- Connect the device to a stable Wi-Fi network or a high-speed mobile data network.
- In the On Device tab, find the scan package that needs to be uploaded and has the Not Uploaded status.
- Tap the package and select Upload.
- If you are not logged in, log in as requested on the screen.
- The “Uploading…” progress screen appears with a progress bar.
During the upload:
- The system displays the data size and upload time.
- You can tap Cancel if you want to stop the upload.
[!WARNING] During the upload process, do not exit the application to the home screen or lock the screen, as this may interrupt the data transfer.
5.2. Automatic Processing After Upload
The system processing workflow consists of two consecutive stages:
[Upload Data File]
          │
          ▼
      (Successful)
          │
          ▼
[Cloud Creates Spatial Map Record]
          │
          ▼
 [Switch to On Cloud Tab]